

Any network that wants to connect to the internet needs a router. I will be using pfSense for this. pfSense works as software for a router and firewall combination. You can buy physical pfSense routers with the software installed, but you can also get a virtual image for pfSense and run it on a virtual machine (VM). That’s what I will be doing here. The pfSense community edition is completely free and is also incredibly powerful, as will be seen during the course of this project.
The first thing we have to do is download pfSense.
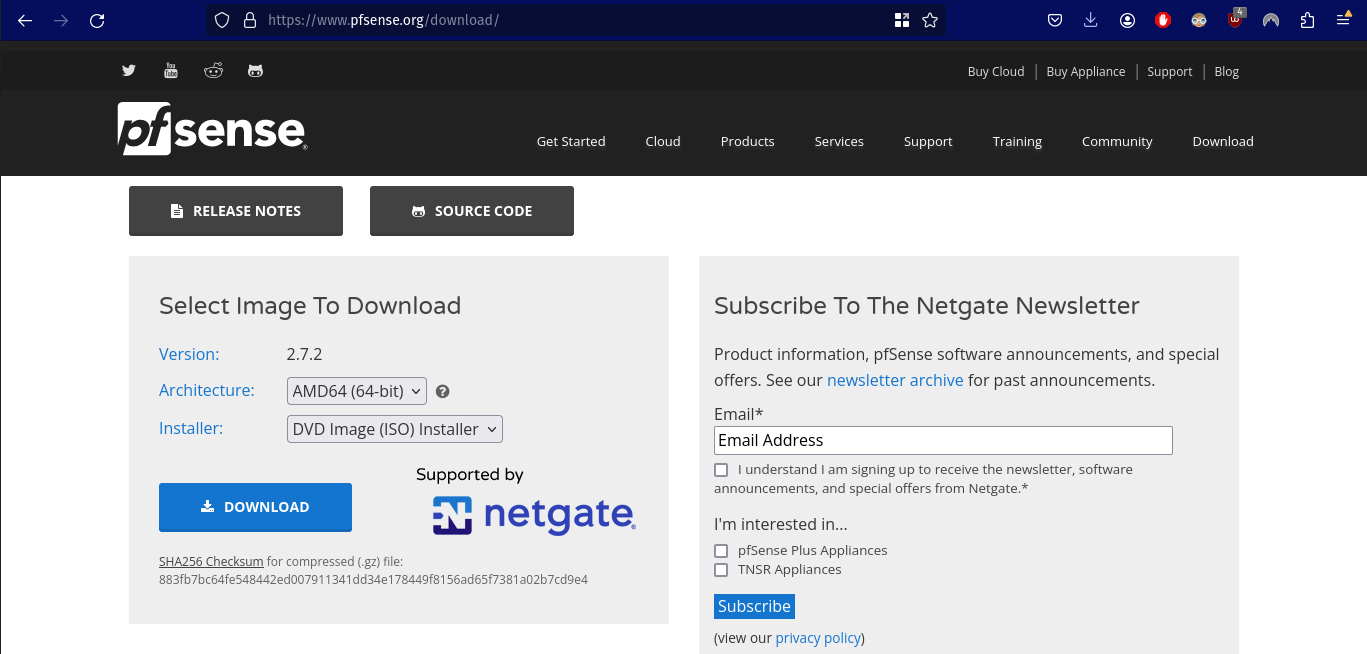
Under Architecture, select AMD64 (64-bit). Under Installer select DVD Image (ISO) Installer. Click download.
When the download is complete, open VirtualBox. In VirtualBox click on the Machine dropdown menu and select New:
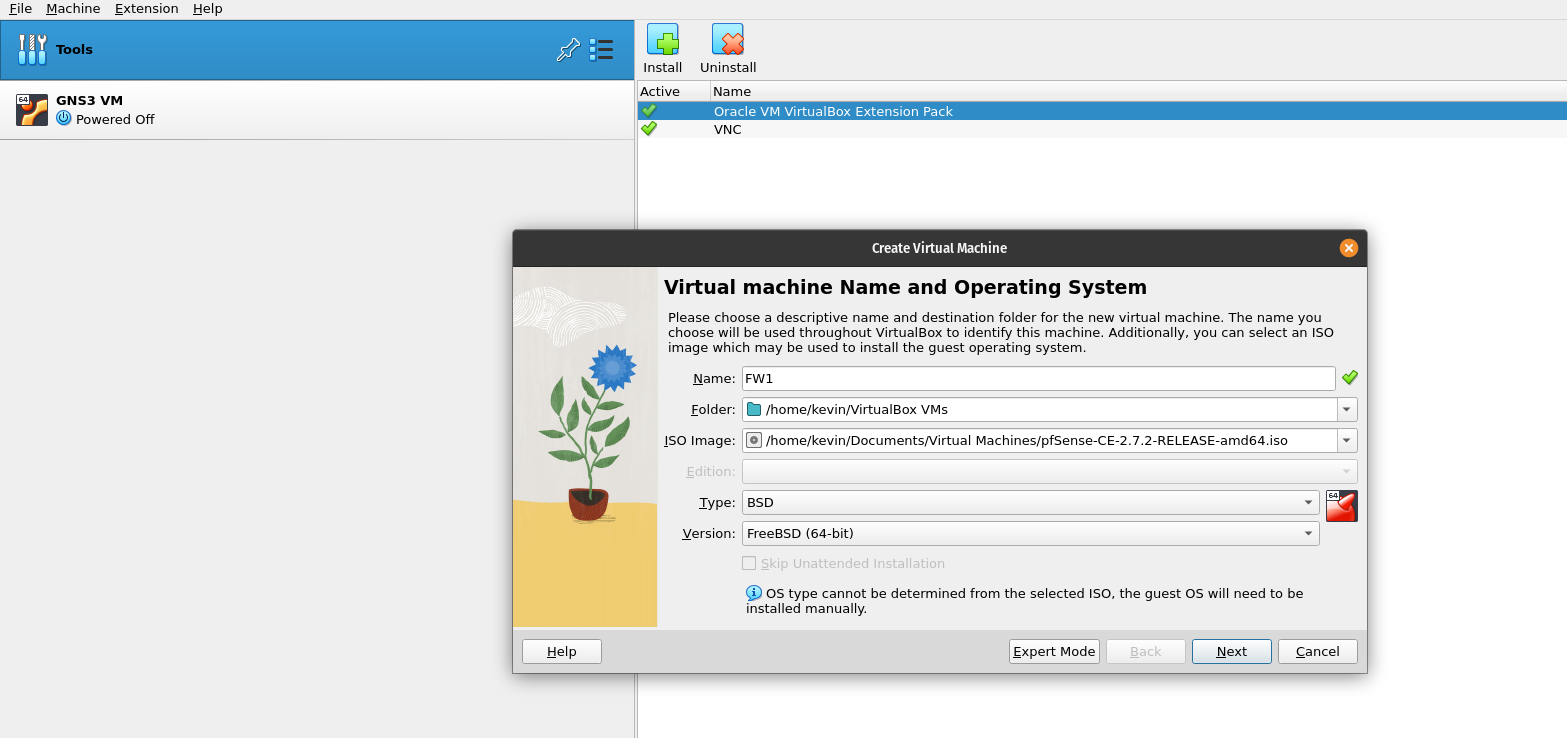
Write the name for the Firewall/Router. I chose FW1 as it is the first Firewall I’ll be installing on this topology. Select the image you’ve just downloaded and under Type select BSD, and under version select FreeBSD (64-bit). Click next. You will be prompted to select how much RAM and how many CPU’s you’d like to allocate to this machine:
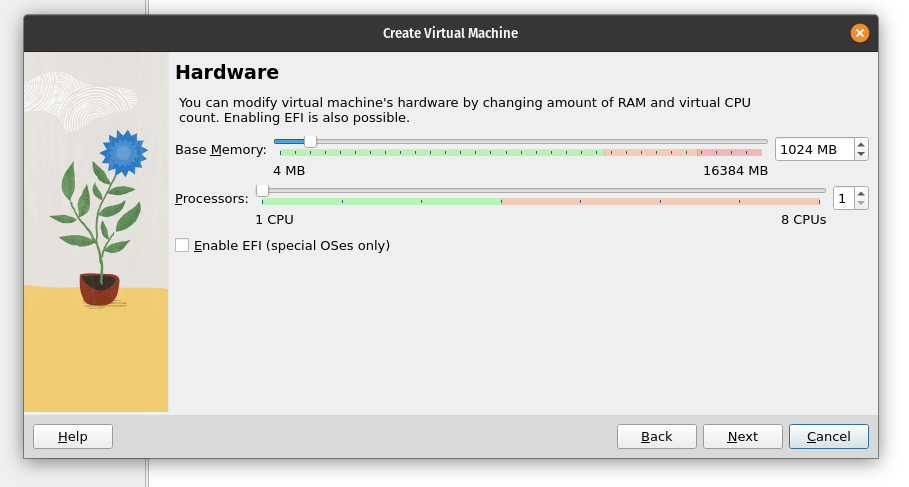
You’ll need to allocate at least 1GB of RAM and 1 CPU, which is what I’ve done. Click next and you’ll be asked to allocate your hard disk size:
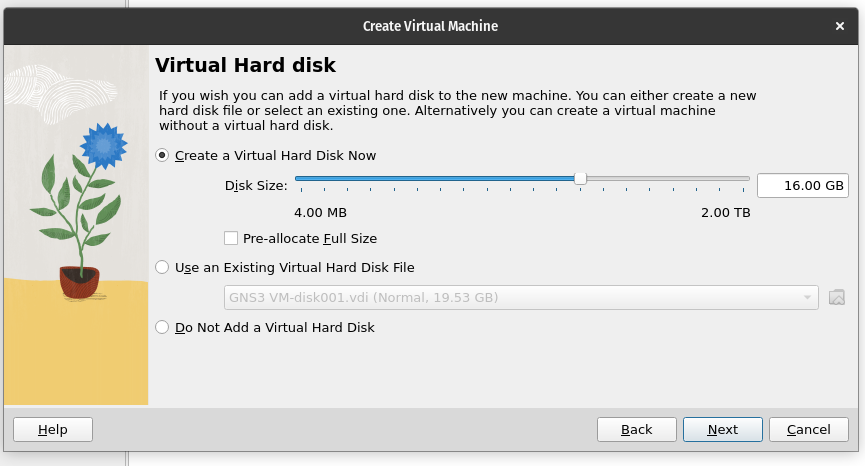
The recommended amount is 10GB, but I chose to allocate a little more because I may install some add ons later. Remember that the Virtual Hard Disk won’t just take a chunk of your host hard drive. The 16GB is the maximum, but it will only use what it needs. If you’d rather just allocate 16GB of your actual drive to this machine, check Pre-allocate Full Size. Click next to see a summary of the machine, and then click finish.
The VM has now been added to VirtualBox, but it’s not quite ready to go. I need to make sure that this machine is able to connect to the internet, the DMZ, and the internal network. Click on the VM in VirtualBox. Open its settings and select Network:
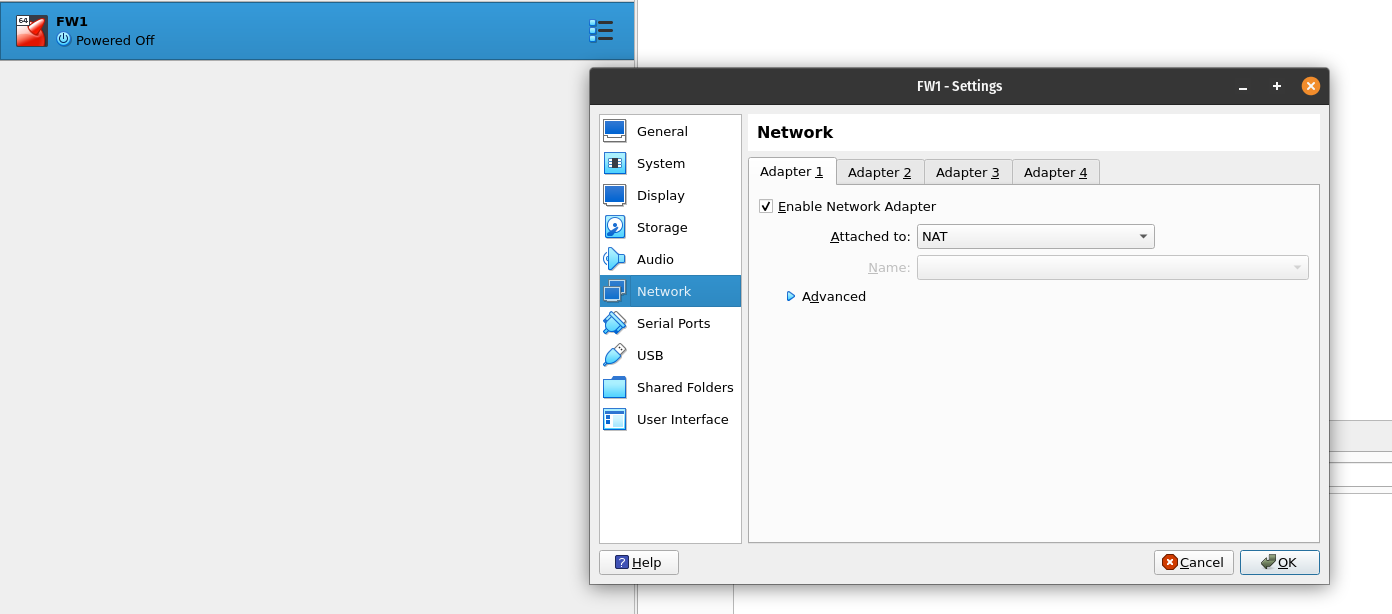
Make sure that Adapter 1 is enabled and attached to NAT (Network Address Translation – this allows a private network to connect to the internet). Select Adapter 2:
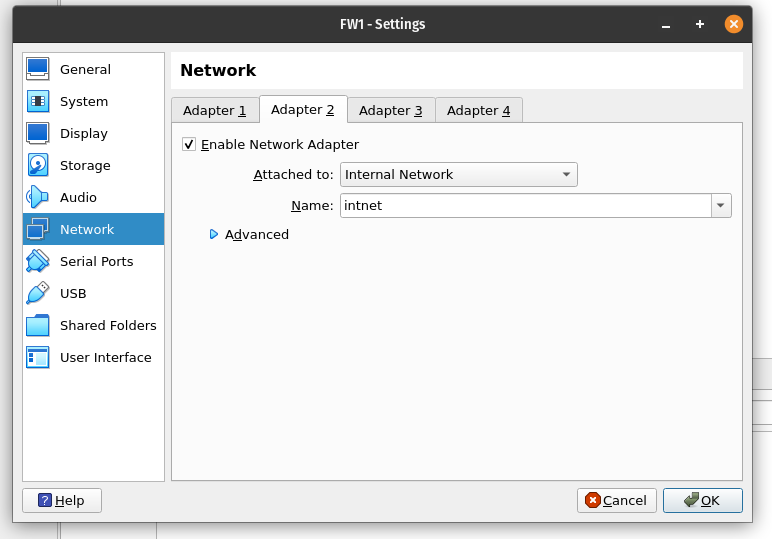
Enable the adapter by checking ‘Enable Network Adapter’. This time attach the adapter to the internal network. Under Attached to select Internal Network in the drop down. Selecting internal network means that the VM can now connect to another VM. Do the same for Adapter 3 and click Ok.
Now, select the pfSense VM and click Start to let it boot. Press Enter to accept:

Select Install pfSense and choose Auto. Leave everything at default and press Enter:

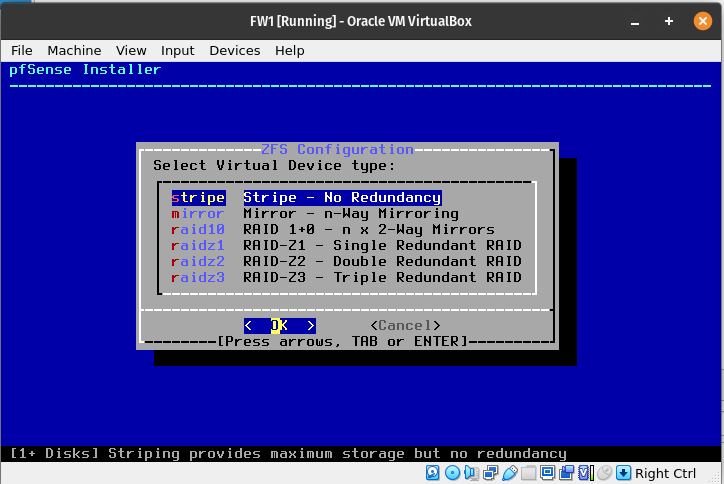
Next, I’ll select Stripe as I’m installing this on a single Virtual Hard Disk. If I was doing this on production hardware I’d most likely be using an option with redundancy, but for this application Stripe will do:
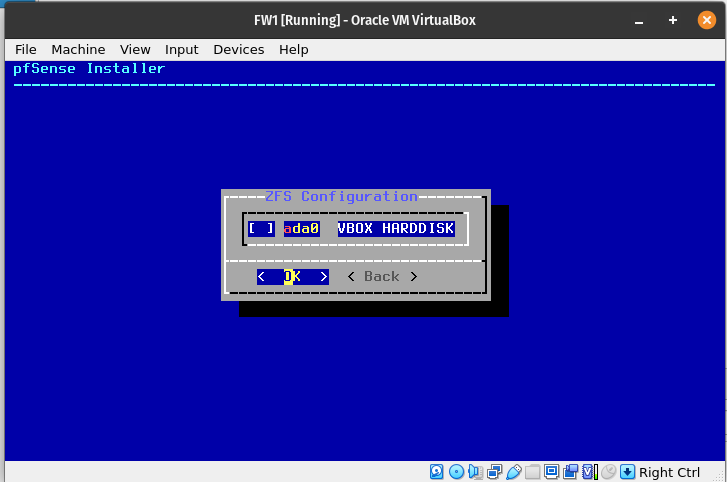
Select the VBOX HARDDISK by pressing space, and hit enter:
Press tab to select yes, and hit enter:

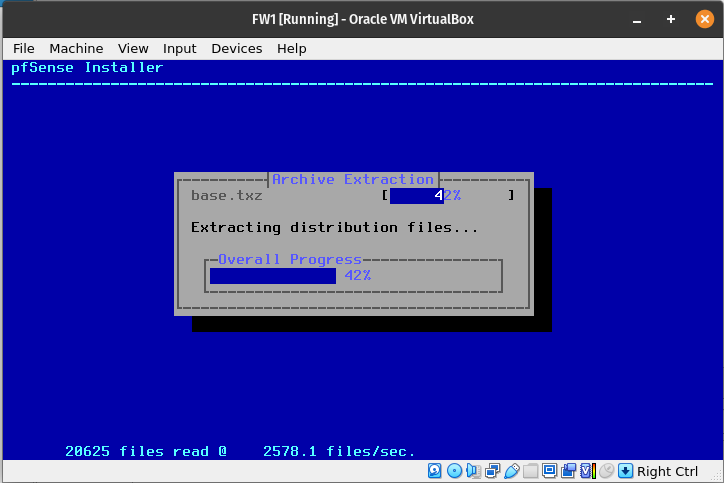
The installation process will begin:
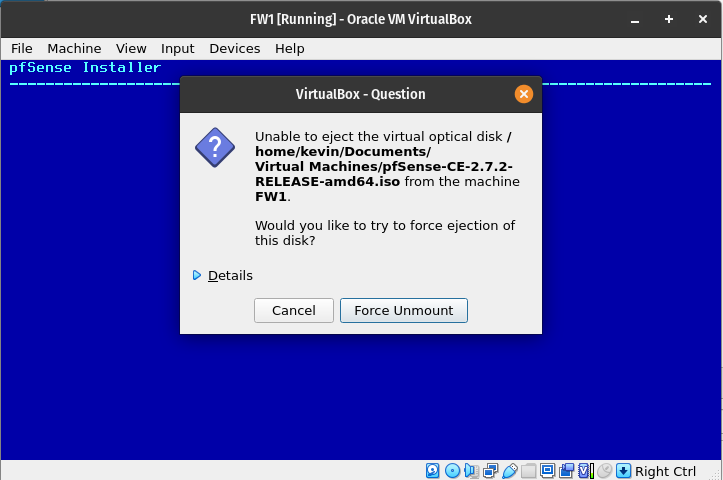
Once it’s finished, before rebooting, I need to remove the ISO file from VirtualBox. If I leave it, the installation process will start over when rebooted. From the VirtualBox drop down menu select Devices > Optical Drives > pfsense image. Click force unmount:
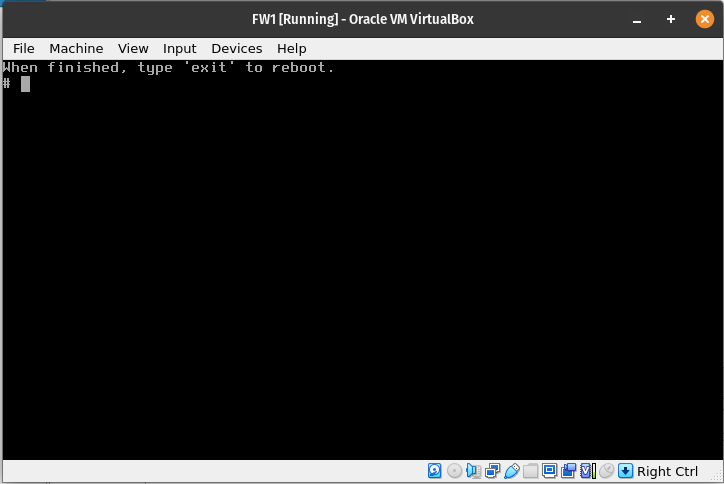
Once reboot is selected, it will prompt you to type ‘exit’ to reboot:
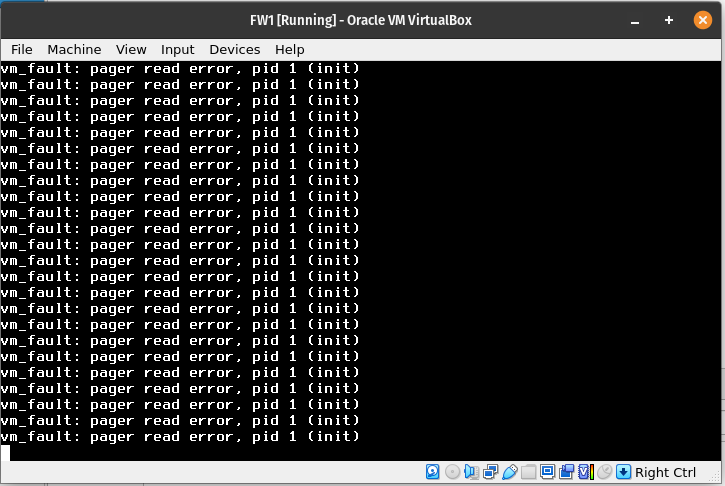
Ignore all the error messages and wait for the reboot to complete. It can take some time, but if it hangs for a very long time you can close the VM and start it up again:
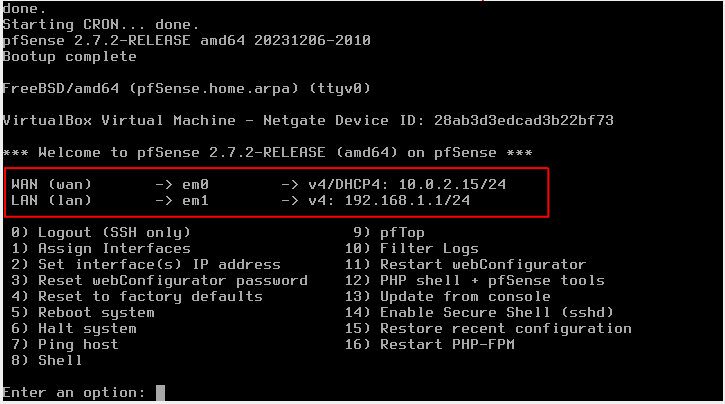
Once booted, you will be able to see the Network Interfaces we setup earlier listed along with a list of options. NOTE: When I originally installed pfSense I forgot to add the third adapter, so it is missing from this screenshot:
Now, the initial installation and default setup of pfSense is done. The next step is to add some machines to the network that can connect to this firewall. PLEASE NOTE: Although pfSense is installed and running, it’s not really in any condition to be used on a real-world setup. There are still many tweaks that need to be made before it could be used safely. Please follow the rest of this project series to learn more.


