

The final machine I want to add to this network is a Windows 2022 Server. This server will serve a few different functions within the network in the future. I chose Windows Server 2022 because I wanted to learn a bit more about how Windows Server works, and to bring a bit of variety to this project. I decided to go with the Windows Server Core version because it is much lighter on resources and will give me an opportunity to hone my powershell skills. The Core version is similar to a headless Linux server, where there is no Desktop/GUI (Graphical User Interface) provided.
First, download the Windows Server Image:

Click on Download the ISO. Next, you will need to fill out a form as below:
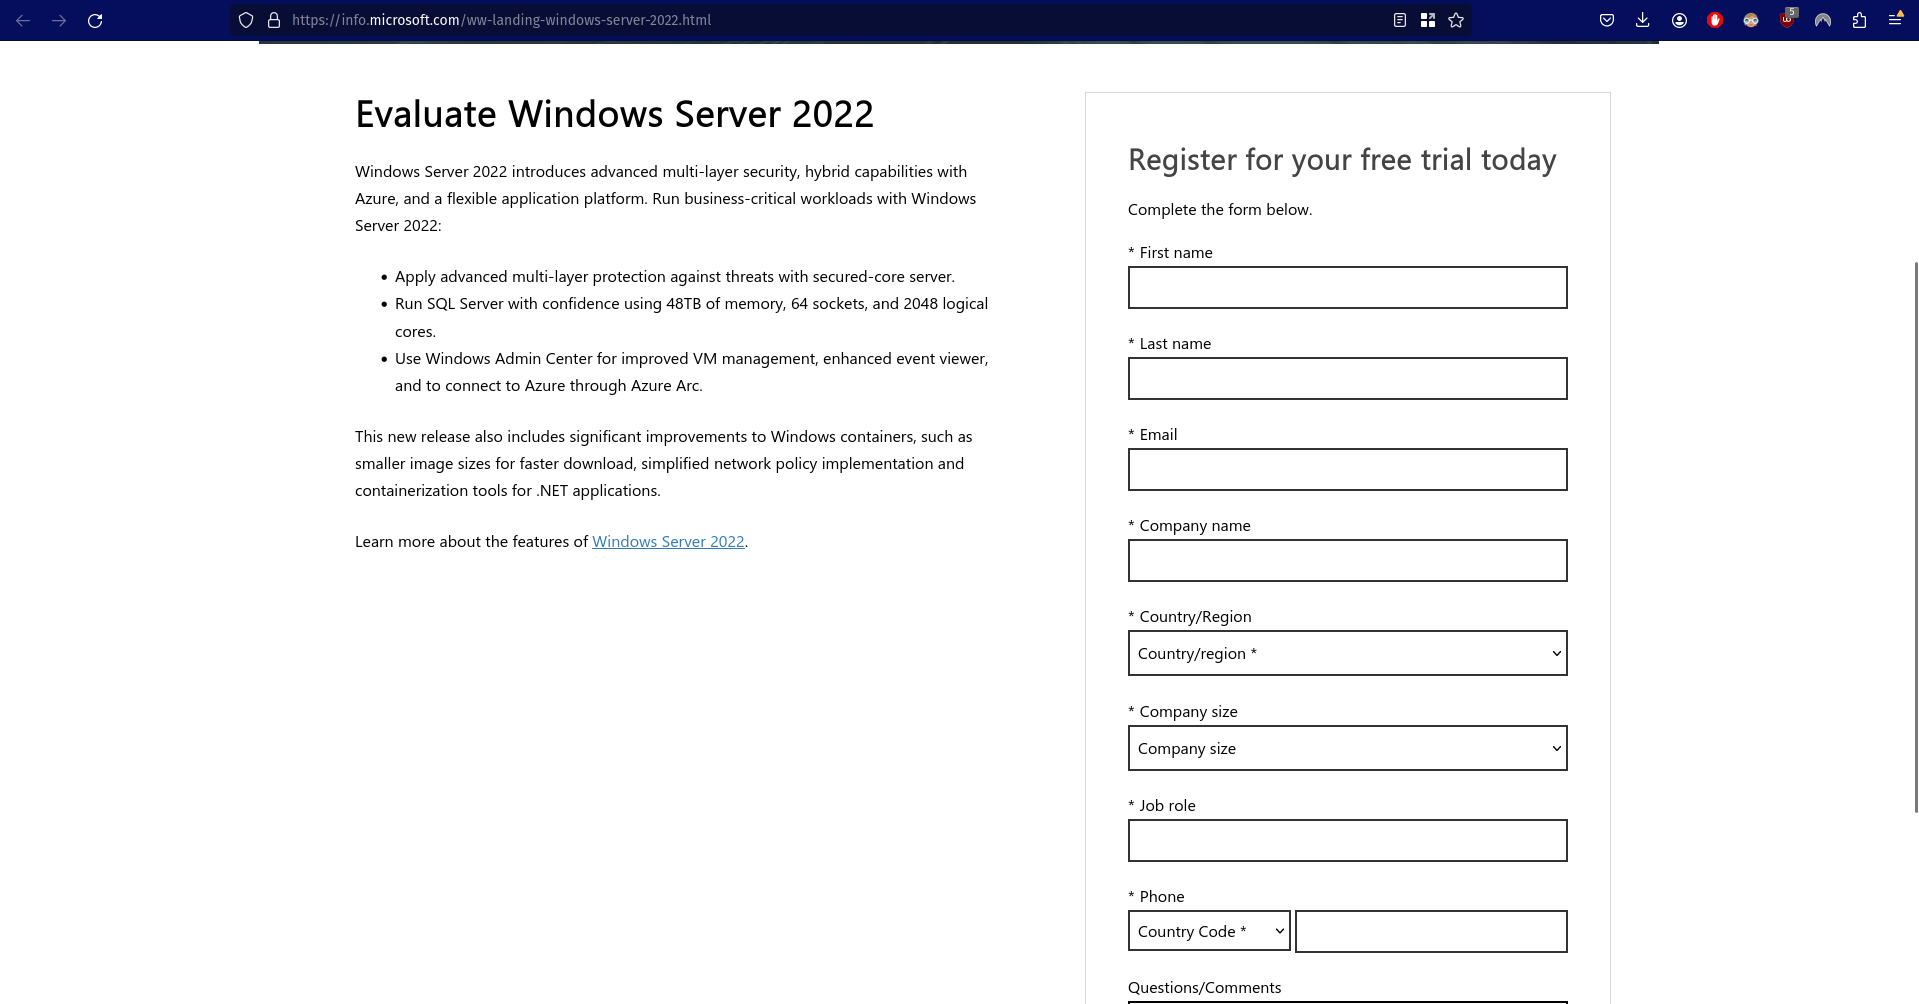
Once the form is filled out, choose the ISO 64 bit option in your language:

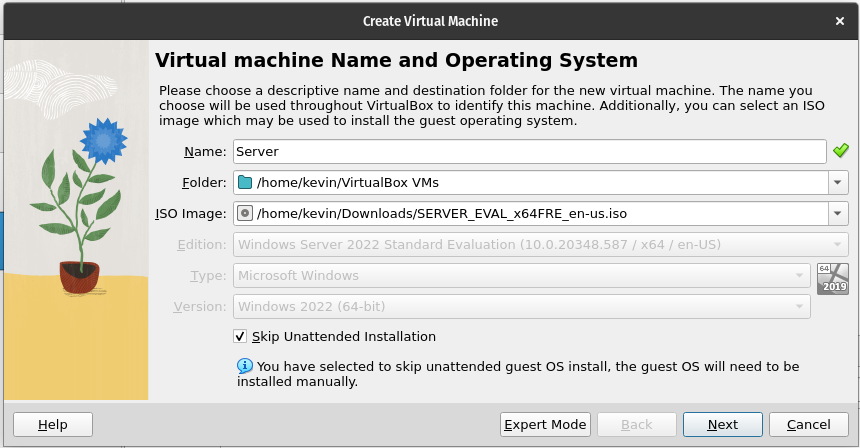
Once it is downloaded, open up VirtualBox and add a new machine. Choose the ISO that has just downloaded and make sure to check ‘Skip Unattended Installation:
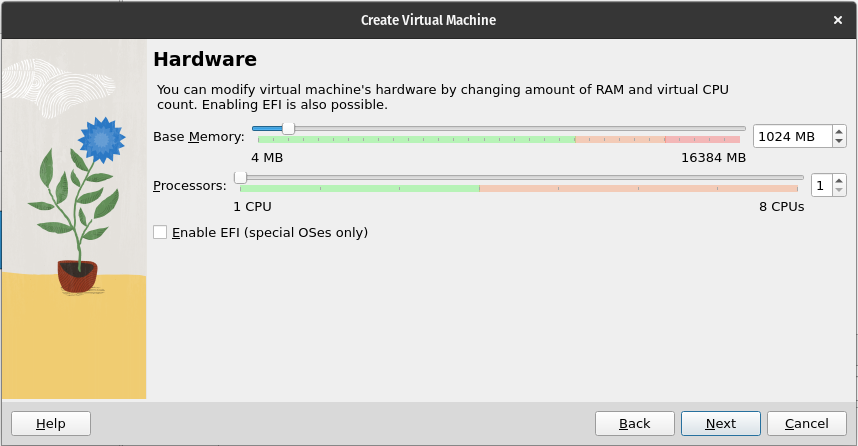
Windows Server requires only a single CPU and 512MB of RAM. However, Microsoft warn that if you install it in a Virtual Machine you will need to allocate 800MB RAM at least during the installation. Once the installation is finished, you can take it back to 512MB and it will run fine. I will assign it 1 CPU and 1GB of RAM:
The minimum storage space is 32GB, but I’ll give it 50GB:

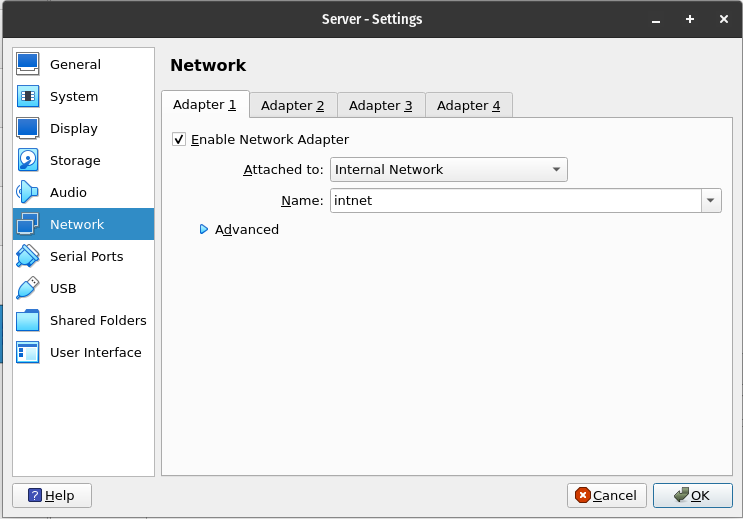
Click next and then click finish on the summary. Open up the machines settings and navigate to Network. Change Adapter 1 to the Internal Network:
Start the machine to begin the setup process. Select the language and keyboard layout and click next:

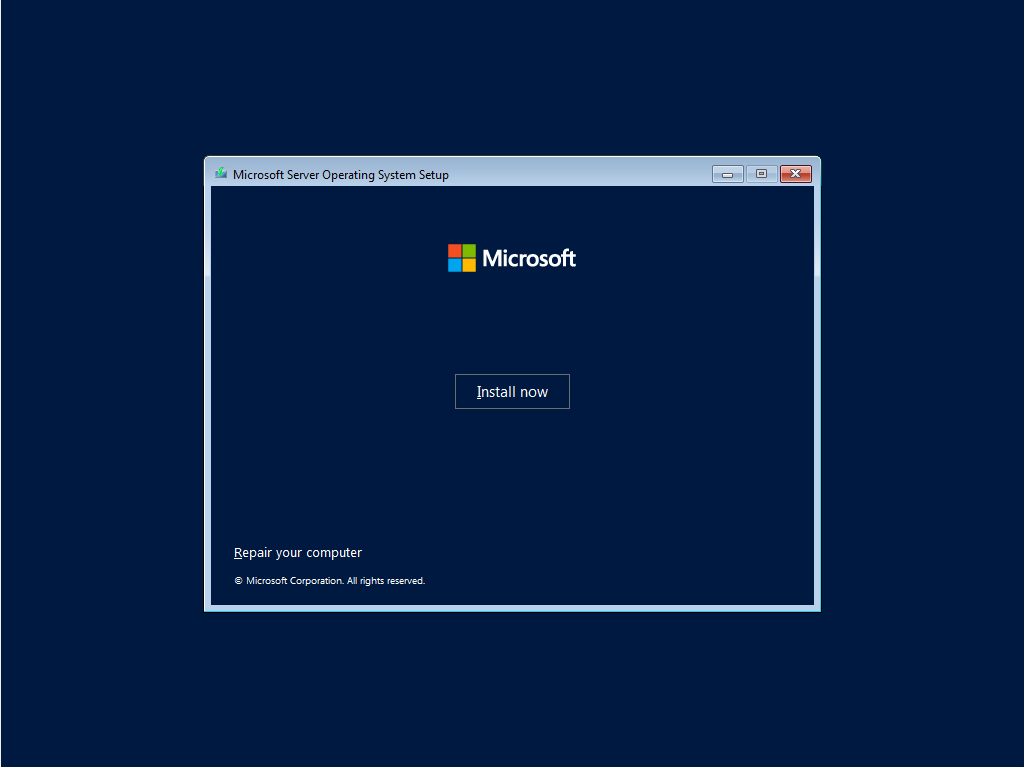
Click Install Now:
Choose the option you prefer. As mentioned earlier, I chose Server Core (Standard Evaluation):

Accept the licensing agreement:

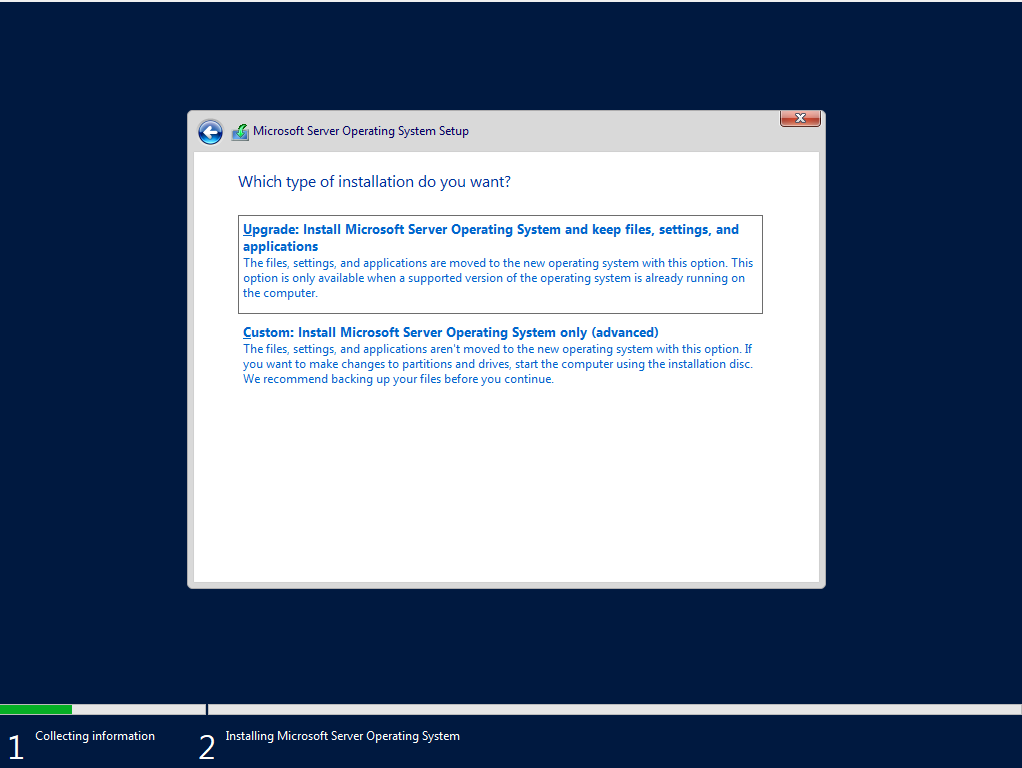
Choose Custom:
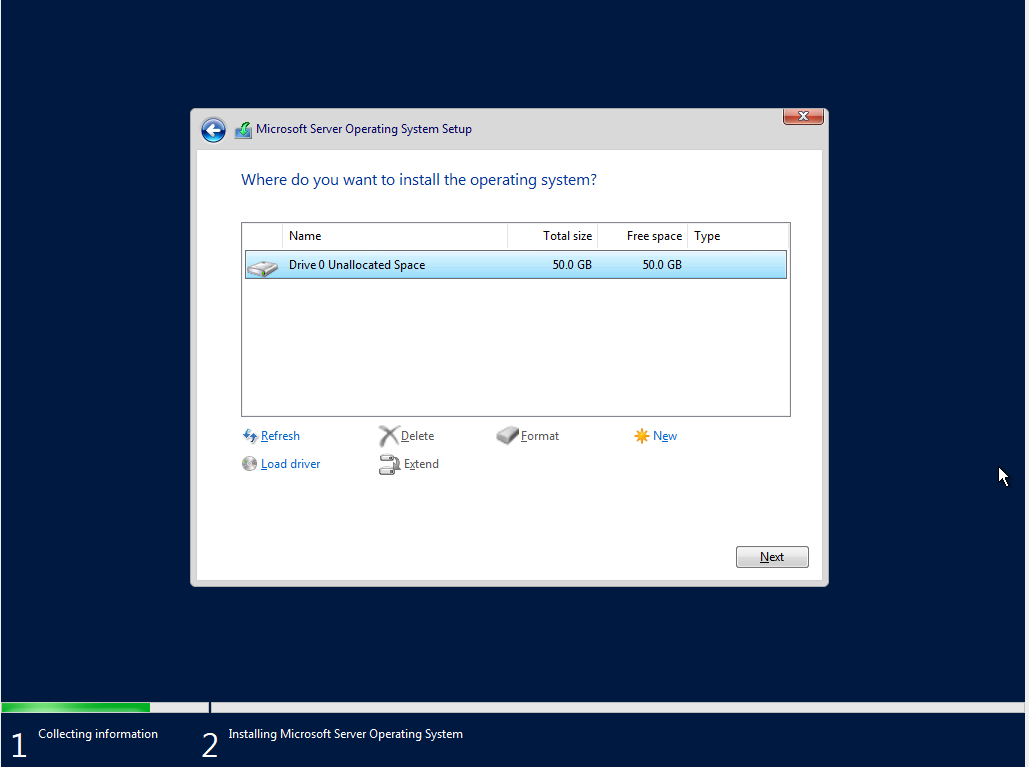
Select your drive:
Wait for the installation to finish:

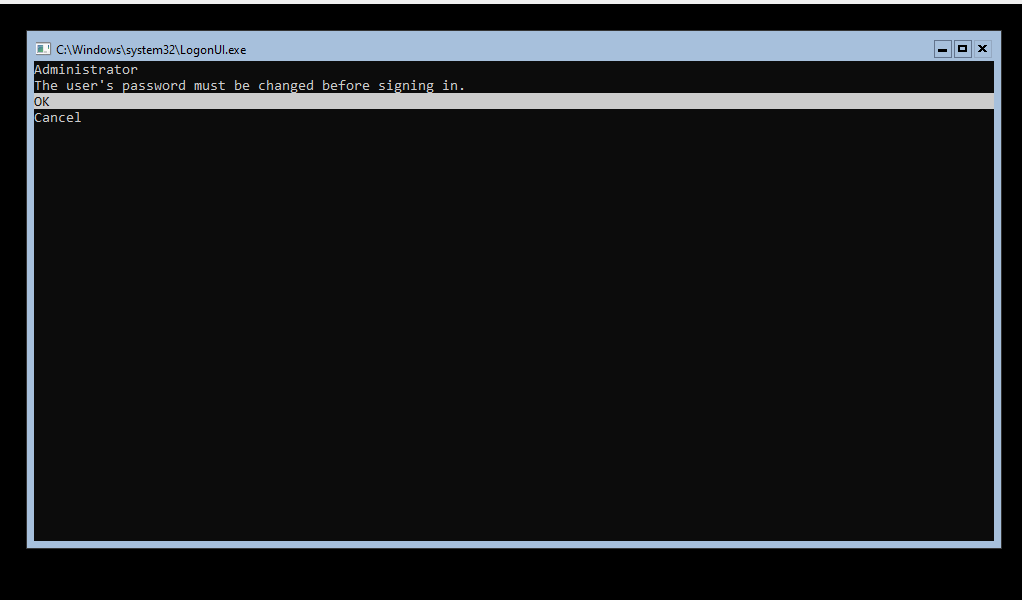
Once it is done, it will ask you to change the admin password. Change it to whatever you want:

Finally, the server will boot: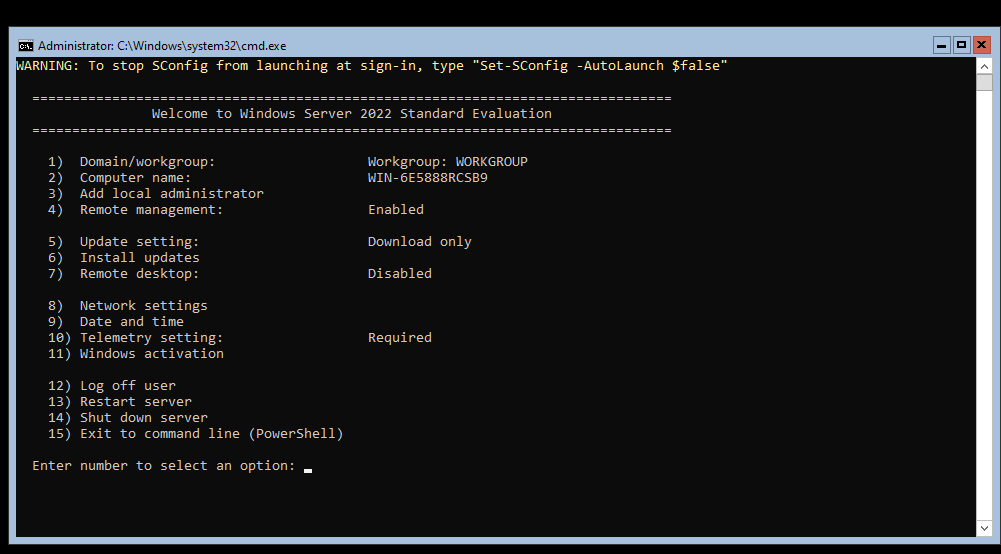 Check that it is getting an IP from the pfSense:
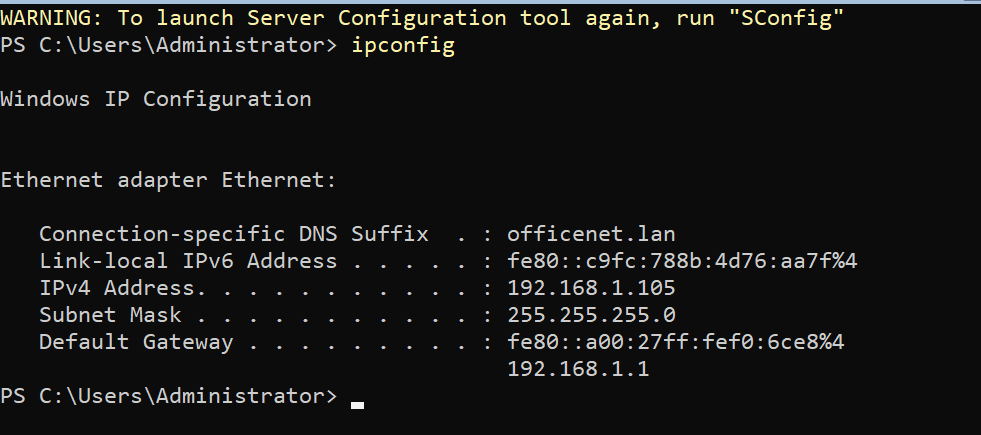
Check that it has internet access by pinging Google:

Next, I don’t like the hostname of this server. You can check the name by typing:
hostname
To change the hostname:
rename-computer
Now follow the prompts:

Once done, restart the machine:
shutdown /r
The hostname has now been changed to Win-Server.
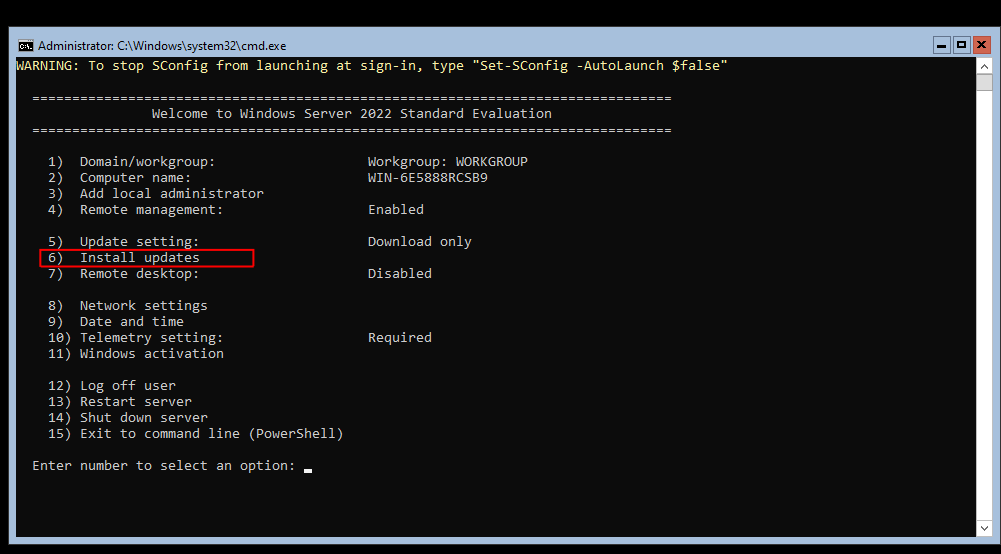
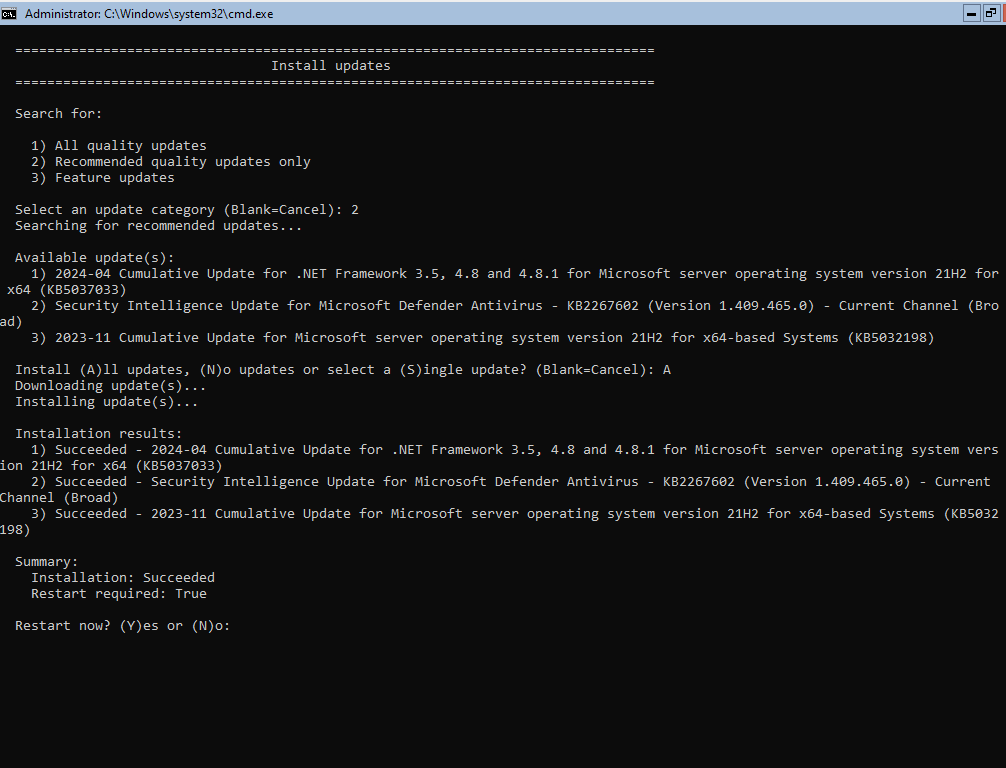
Finally, I want to update the server. To do this, select option 6 in the server menu:
In the next menu, I selected option 2 because I don’t want to use up too much space: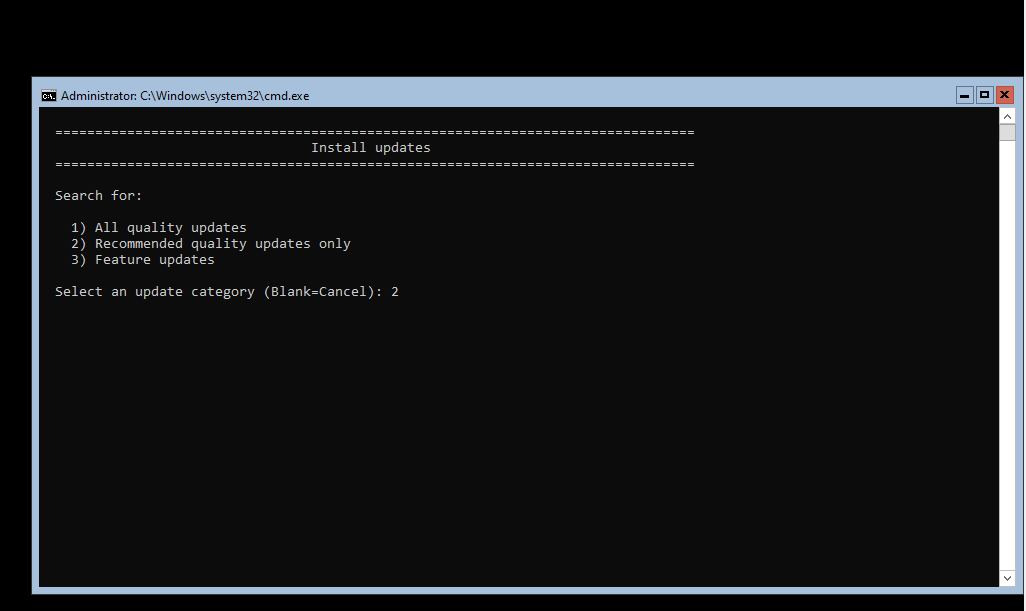
Select ‘A’ for all:

When it’s finished, enter ‘y’ to restart the machine:
Done. The server is now setup and ready to go. The next part of this project will cover segmenting the network for added security.


