

The first computer I will add to the domain is going to be the Windows 11 Sales client. To get started, boot up the machine and open settings from the start menu:

In the settings menu, select Windows Update. Make sure the machine is up to date before continuing:

Next, select System in the settings menu:

Select About from the bottom of the menu:

Click on Rename this PC:

Give the computer a useful name. I chose Sales. Next, under the Device Specifications header, select ‘Domain or workgroup’:

On the next menu, click Change:

Change the ‘member of’ option from workgroup to Domain and enter the Domain Name:

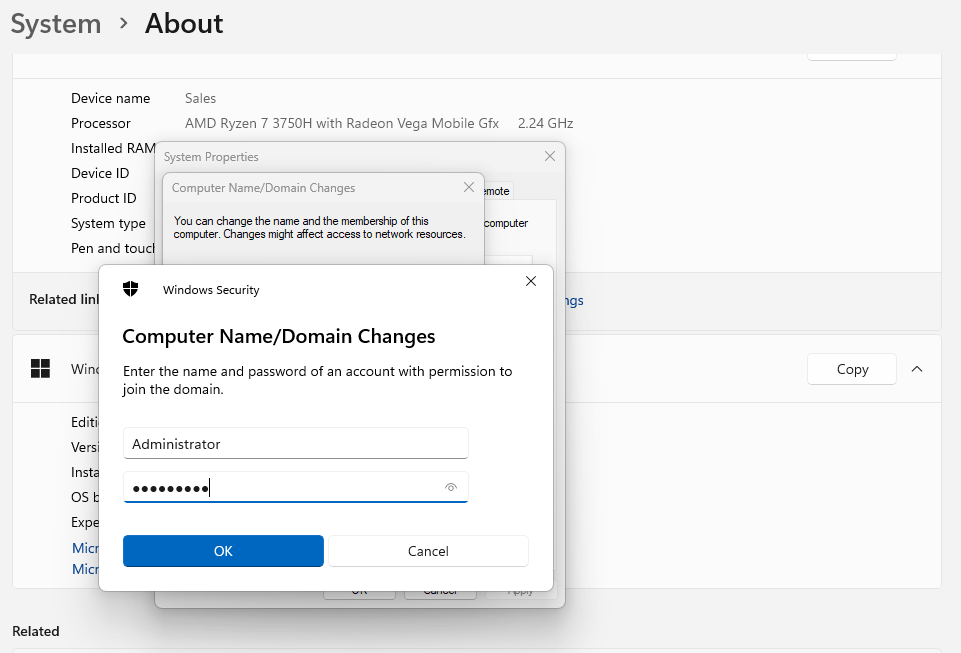
Click OK. You will be asked for your credentials. These will be the same credentials you setup for the Domain Controller:
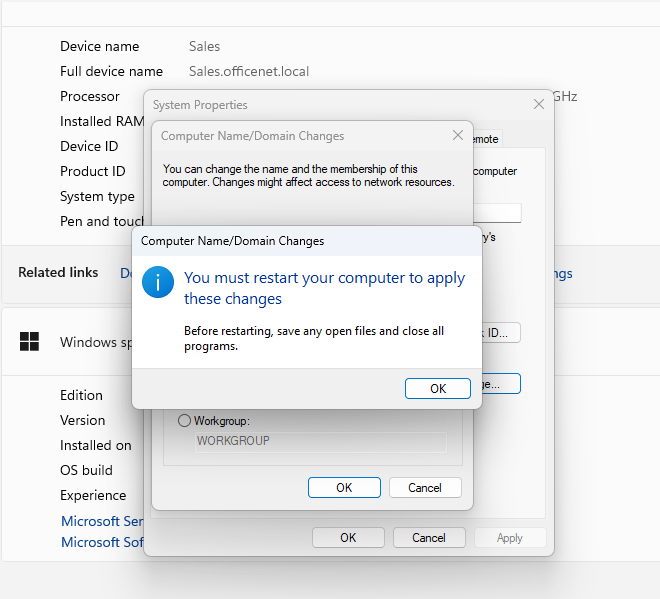
Once done, it will need to be restarted:
Click OK and restart the computer. Once restarted you will be presented with a login screen. Choose ‘Other user’ and use your DC Administrator account to login. Remember to append your domain name to your username. For me it will be administrator@officenet.local:

Once signed in, you can confirm that the machine has been added to the domain by opening Settings > About again and looking under the Device Specifications heading again. My device name has changed from Sales to Sales.officenet.local:

The Windows machine has been successfully added to the domain!


