

Now that the server is added and ready to be managed, I can begin adding Organizational Units. Organizational Units (OUs) are containers within Active Directory used to organize and manage users, groups, computers, and other resources efficiently. They allow administrators to apply policies and permissions to specific departments or groups, enhancing security and streamlining management. OUs simplify the scaling of a business network, making it more flexible and easier to manage as the organization grows.
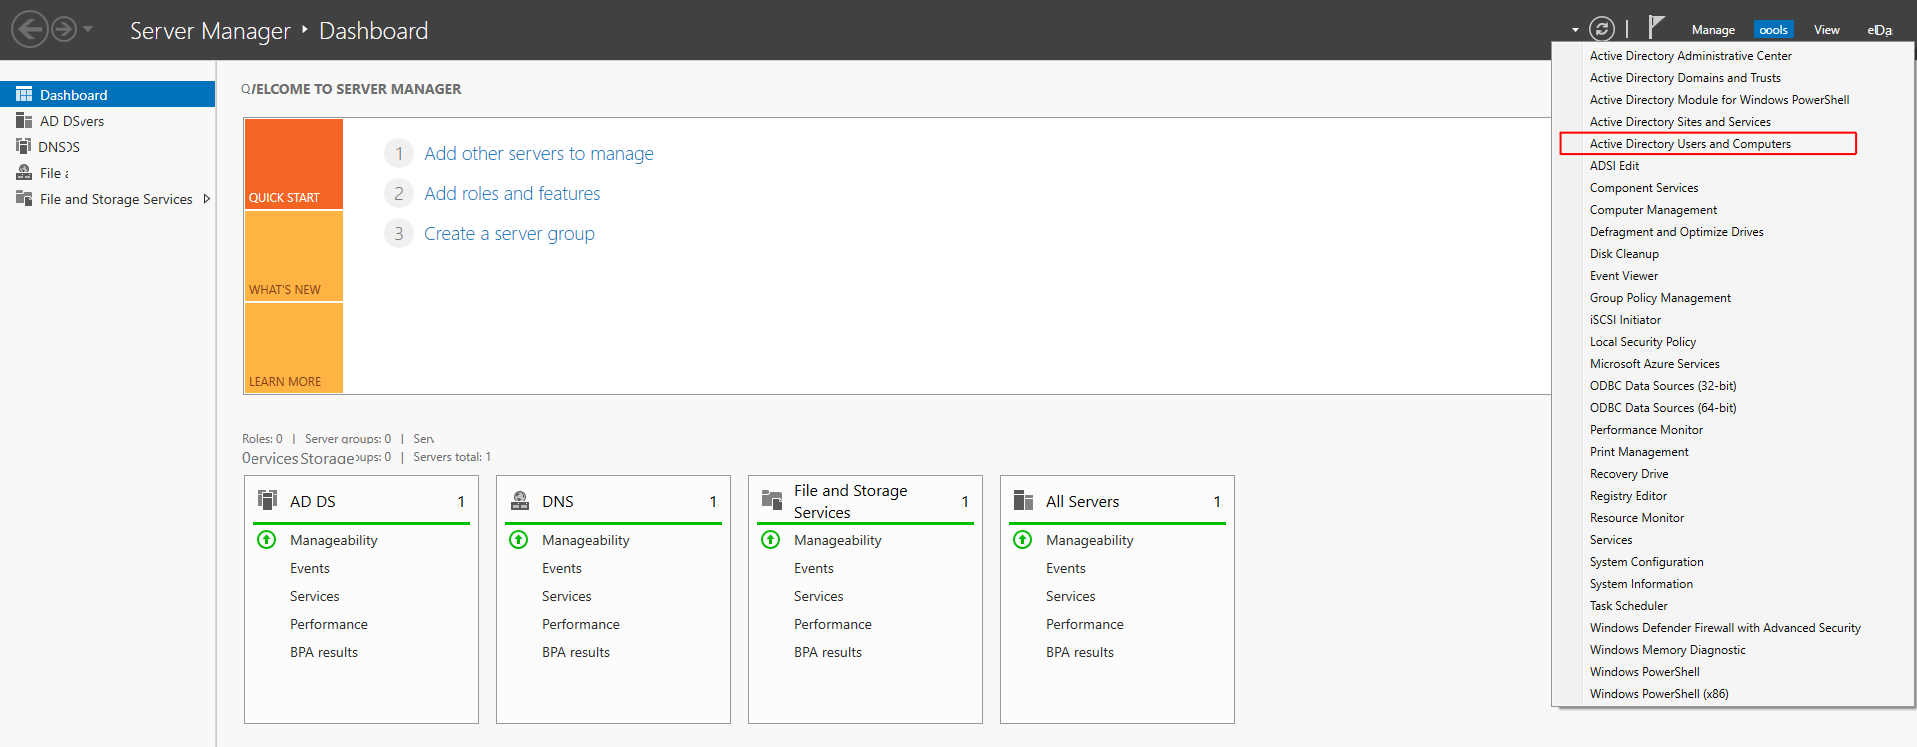
To begin adding OUs, open the Tools menu and select Active Directory Users and Computers:
Look for the domain name and right-click on it:
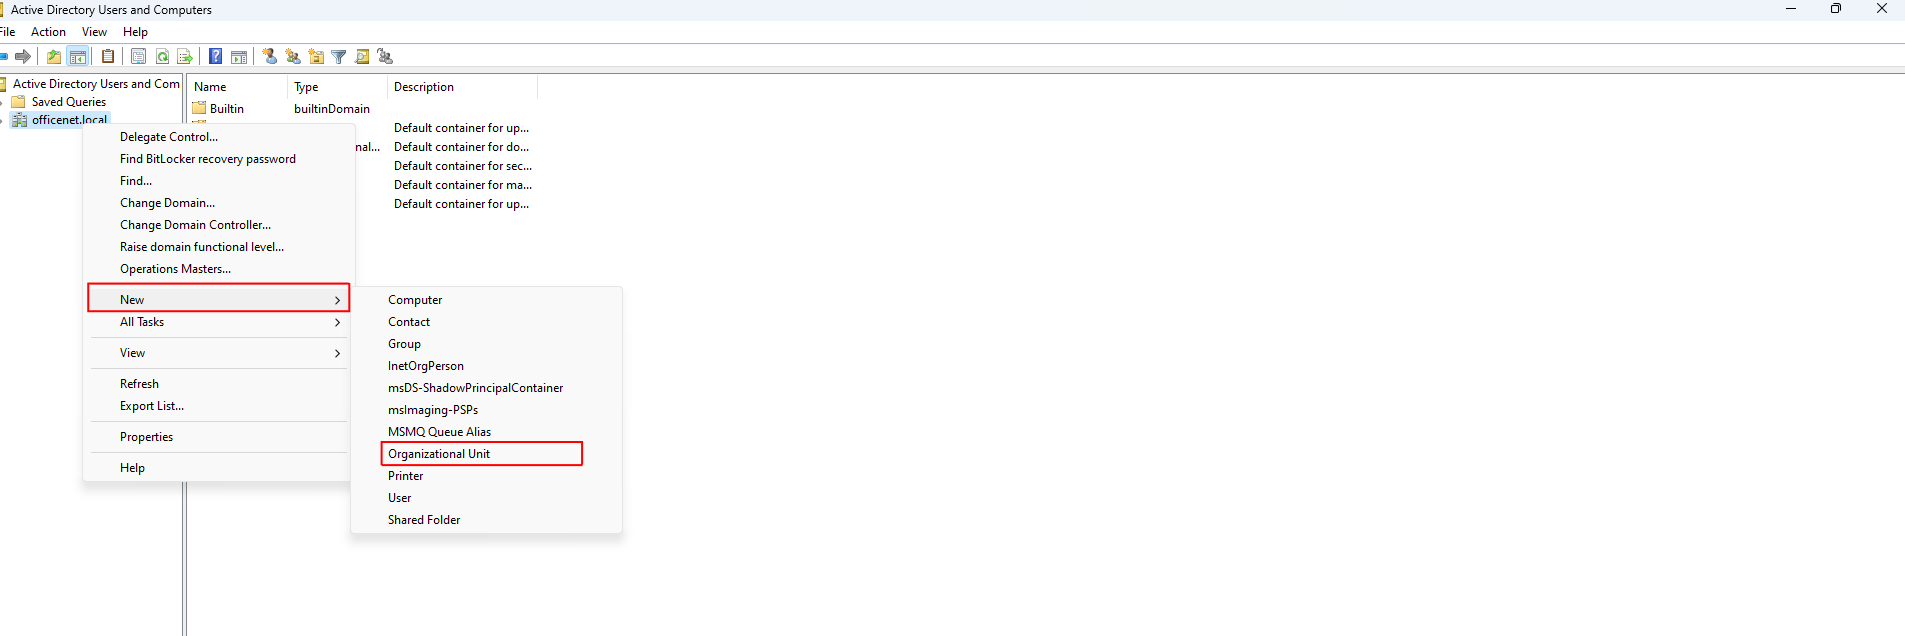
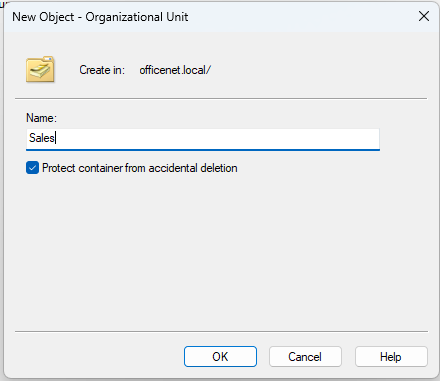
Enter the name for your OU and select OK:
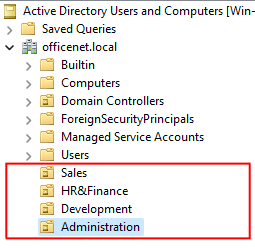
I have chosen to create OUs for each of my departments (Administration, Sales, HR & Finance, Development) because this approach allows me to apply specific group policies tailored to each department. This setup enables each department to grow independently at its own pace. It also provides a clear organizational structure, simplifying management as the business expands. If a new department is needed in the future, a new OU can be easily added:
Now that the OUs are ready, I need to create some users. There are only four employees in this business:
- John Smith – IT Administrator
- Tina Johnson – HR&Finance
- Wolf Wallstreet – Sales
- Mark Small – Development
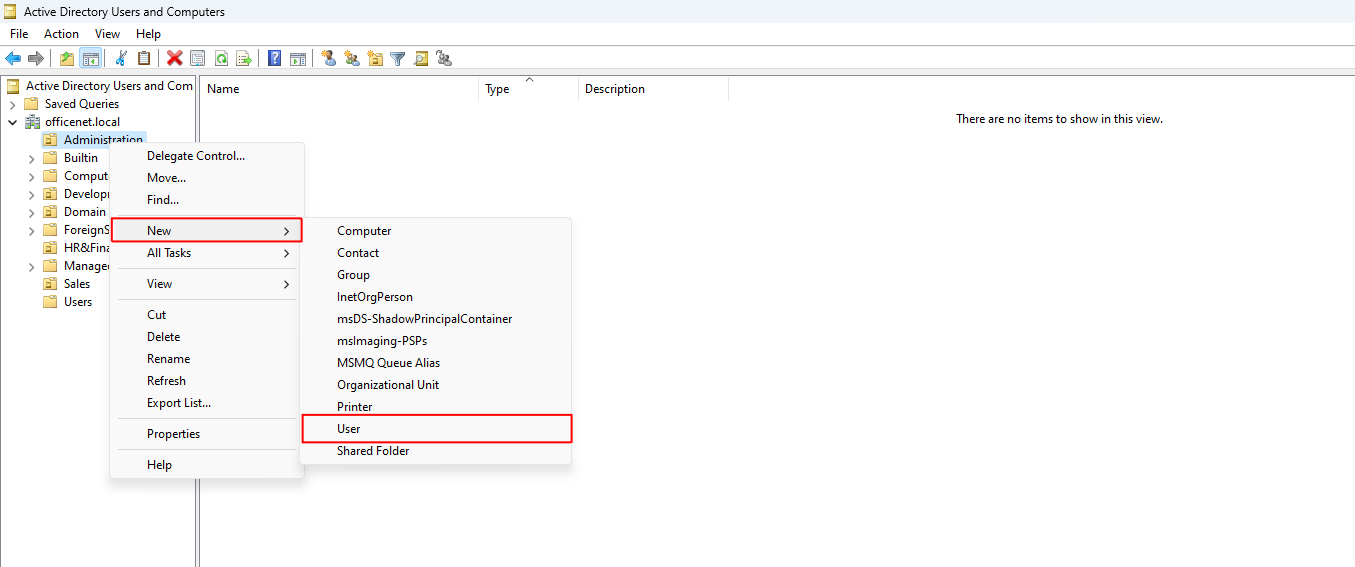
To create a user for an OU, right-click on the OU (In this case I’m setting up the user for the Administration OU) and select New > User:
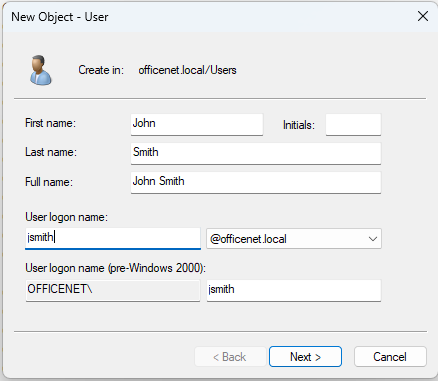
Enter the users details and logon name:
Click next and give them a password:

In a real-world scenario you would check the option for ‘User must change password at next logon’ so that not even the Administrator will know their password. However, for the purpose of this project I’m playing the part of every user so I’m not going to change their passwords. Click Next and then Finish. I’ll repeat this process for my three other employees as well.
Next, I’m going to create a user group for each department. This might seem fruitless because I only have a single user in each OU and I could just assign policies and privileges to the users directly. This would work fine for the scope of this project, but it would not be very convenient once the business starts to grow and add new employees. Assigning policies and privileges to a single user is easy, but applying them to 10-20 users would be extremely time consuming. This is why Groups are so useful. I can assign privileges and policies to the Group and when a new employee joins the department, the administrator only has to add them to the user group and they will inherit all the policies and privileges of that group.
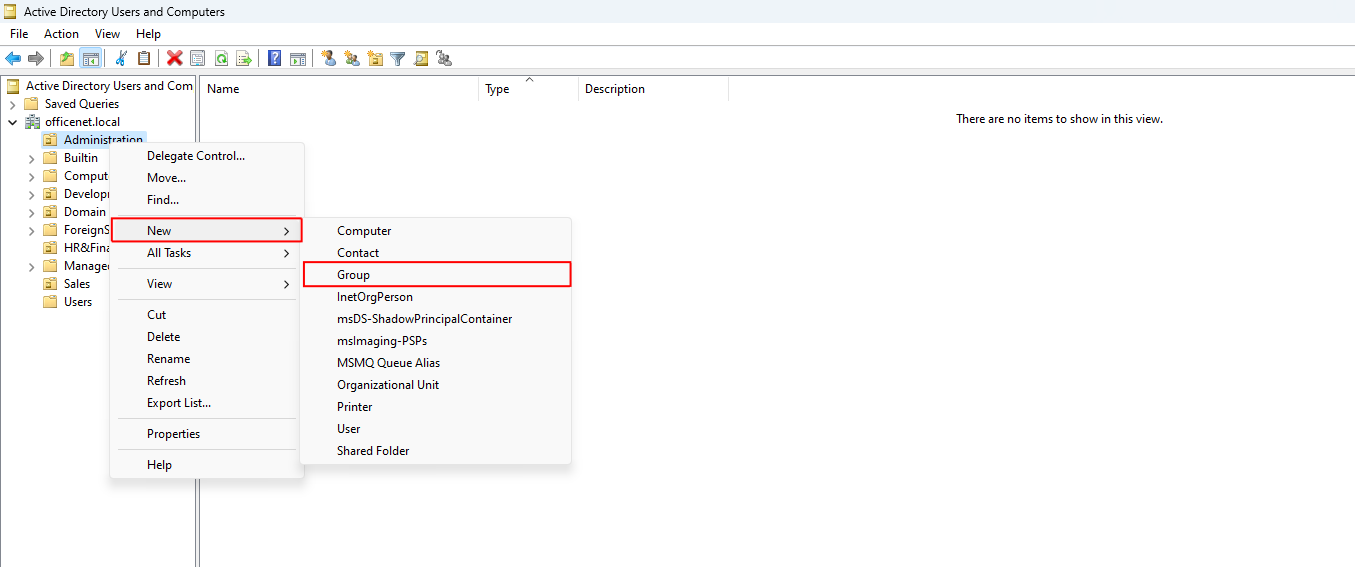
To create a group, right-click on the OU and select New > Group:
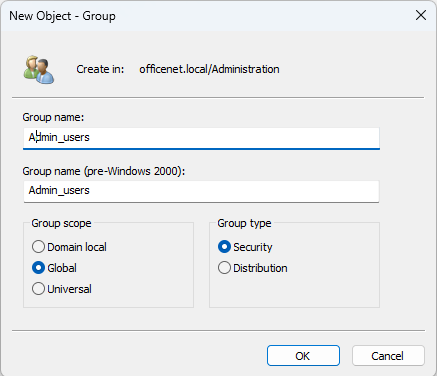
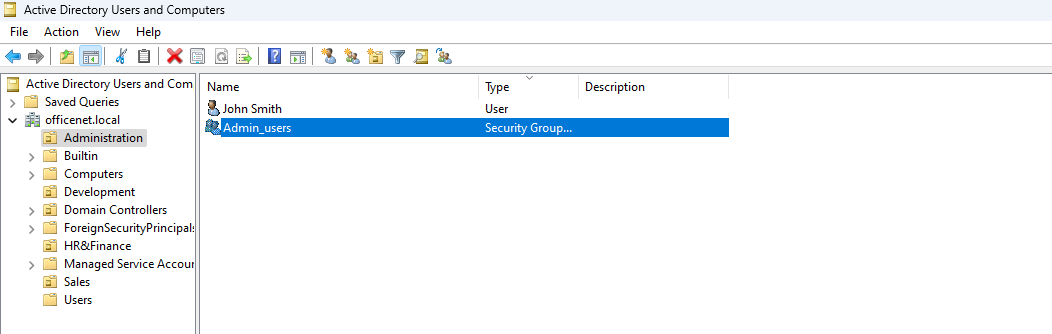
Give the group a name. In my case I’ll call this group Admin_users. I will use this naming convention for all my groups:
Click OK and the group will appear under the OU:
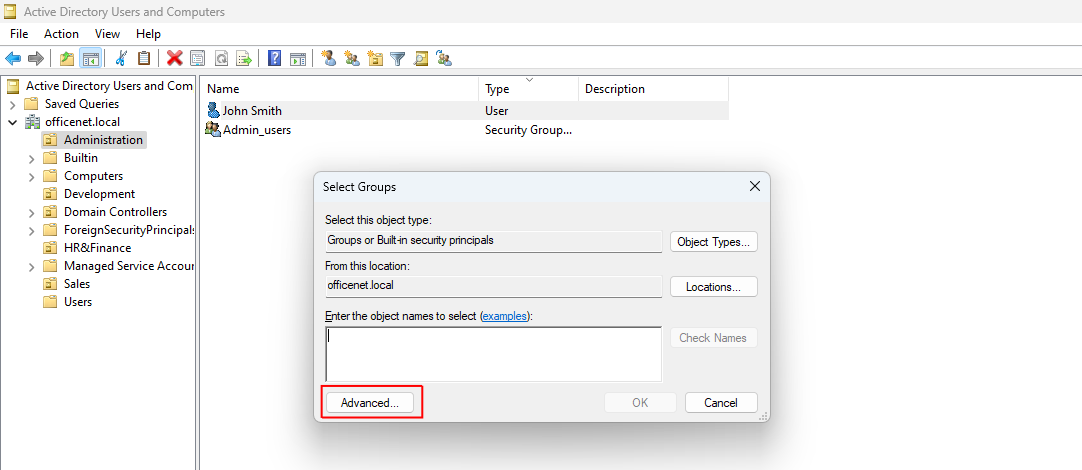
Now I need to add John Smith to the Admin_users group. Right click on the user and select Add to a group:

On the pop-up, click Advanced:
Next, click Find Now to get a list of all users and groups:
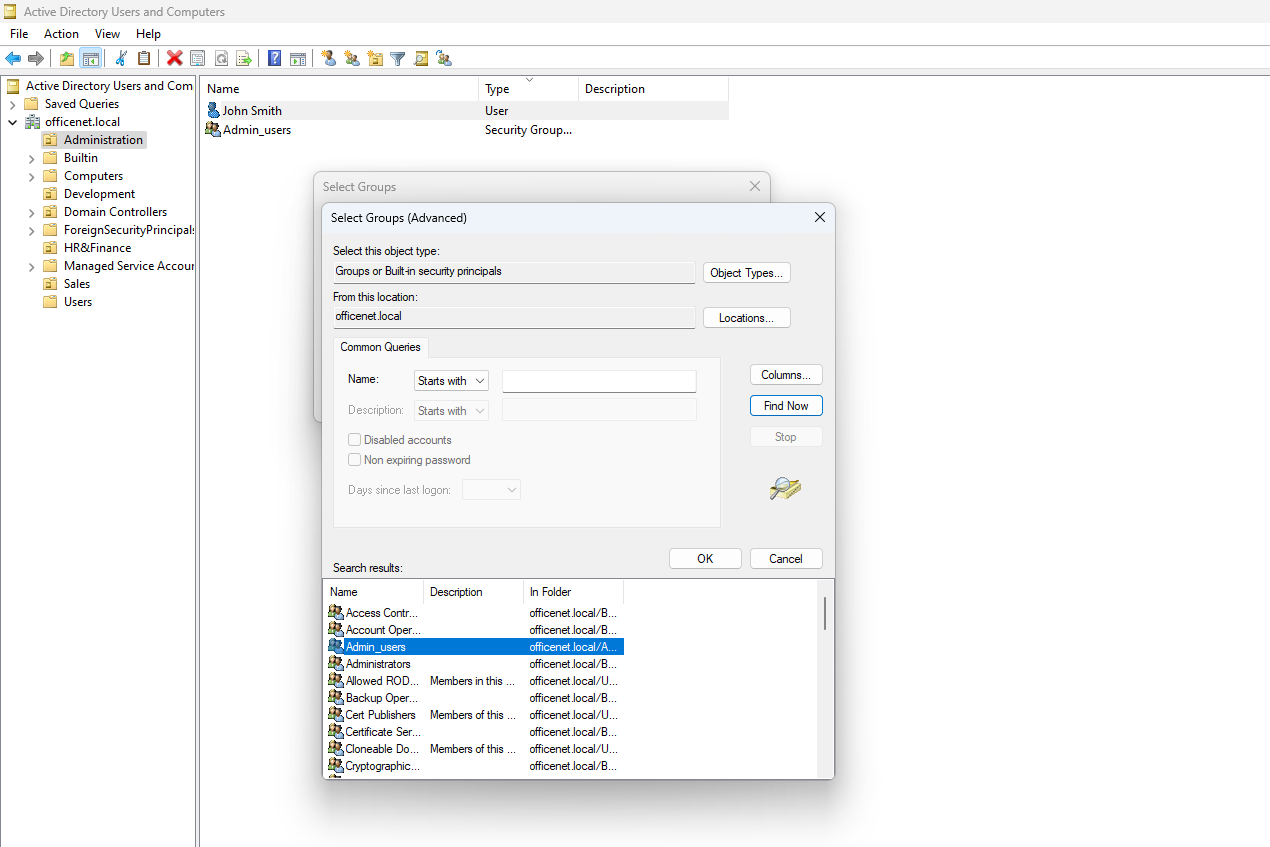
Select the Admin_users group and click OK and then OK again. Now the user John Smith has been added to the group Admin_users. In the future, should the company hire a second Network Administrator, the administrator would simply create the user and add them to the Admin_users group. All that is left to do is to create user groups in the remaining departments and assign the users to them.
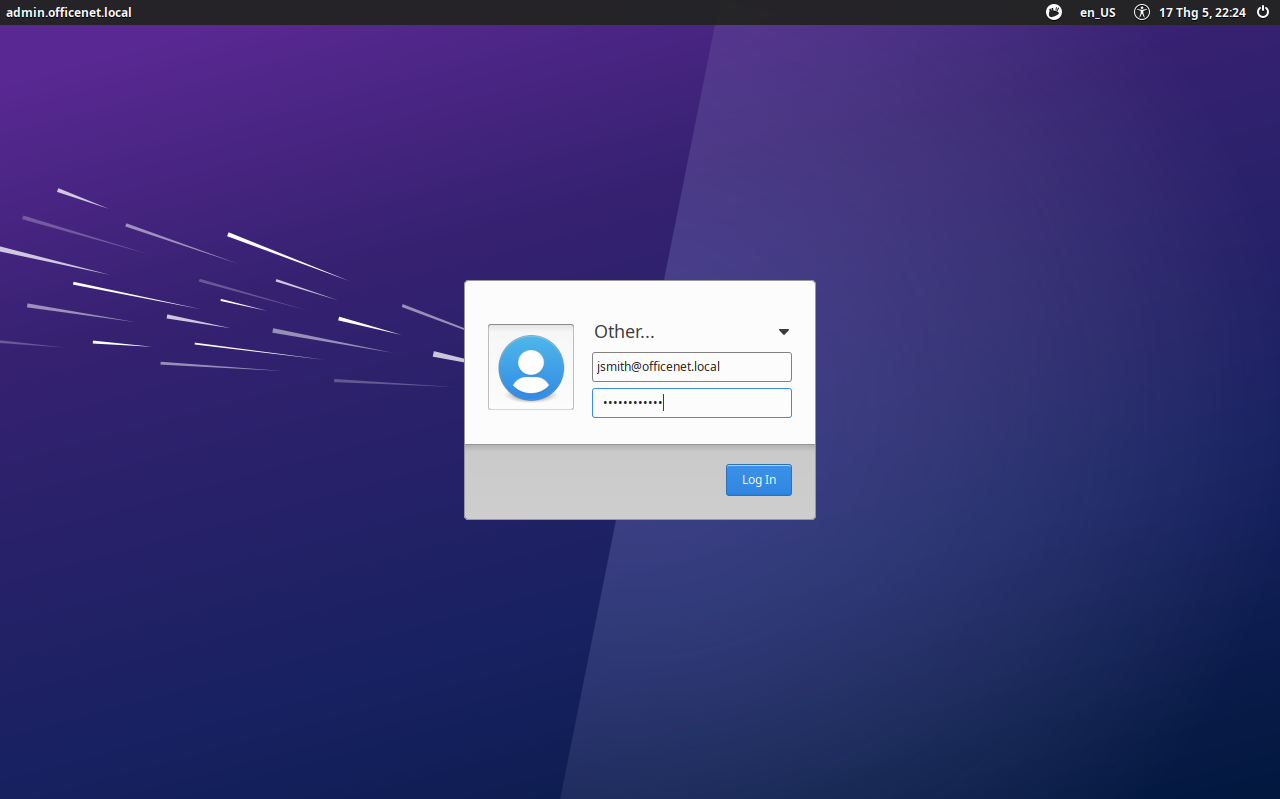
To verify that everything is set up properly and working, I’ll sign into the Administrator machine using John Smiths account. To login to a domain on Linux, select Other and enter the username while appending @domain_name. In my case this would be jsmith@officenet.local:
Once logged in, open terminal and input:
id

John Smiths account is verified as part of the Admin_users group. Perfect.
The final adjustment I need to make is to move the domain computers into their relevant department OU. Select the Computers OU under the domain:
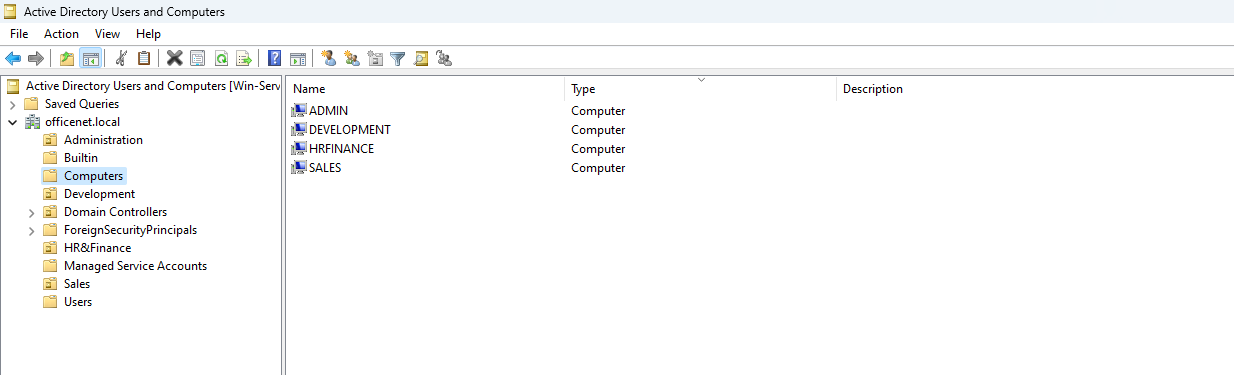
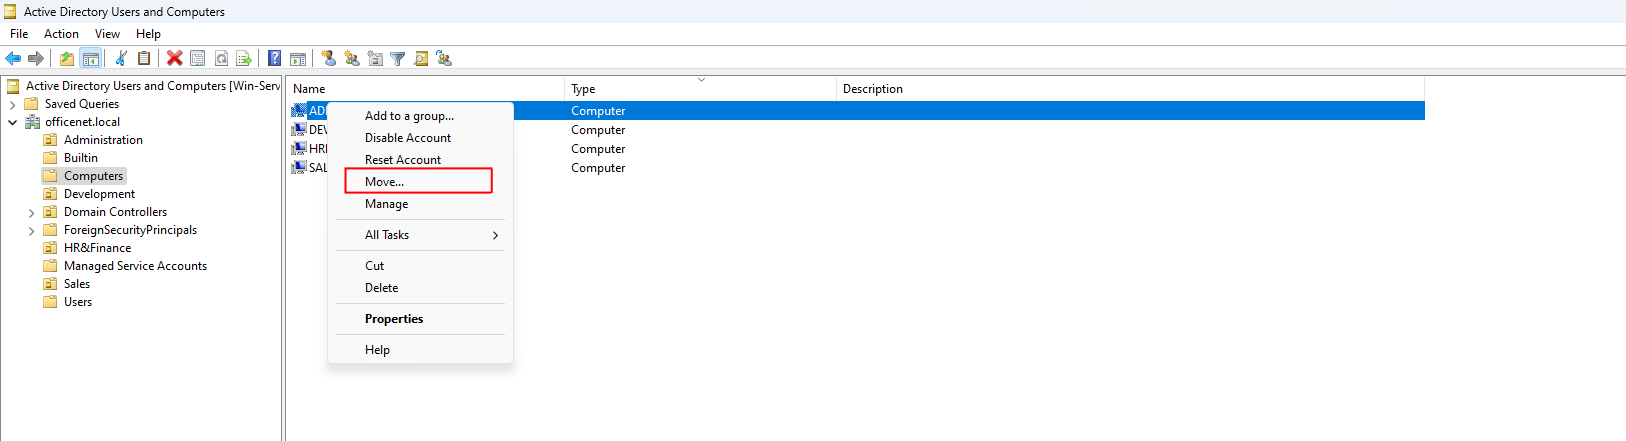
Here are the four computers currently registered on the domain. I’ll select the Admin computer, right-click, and choose Move:
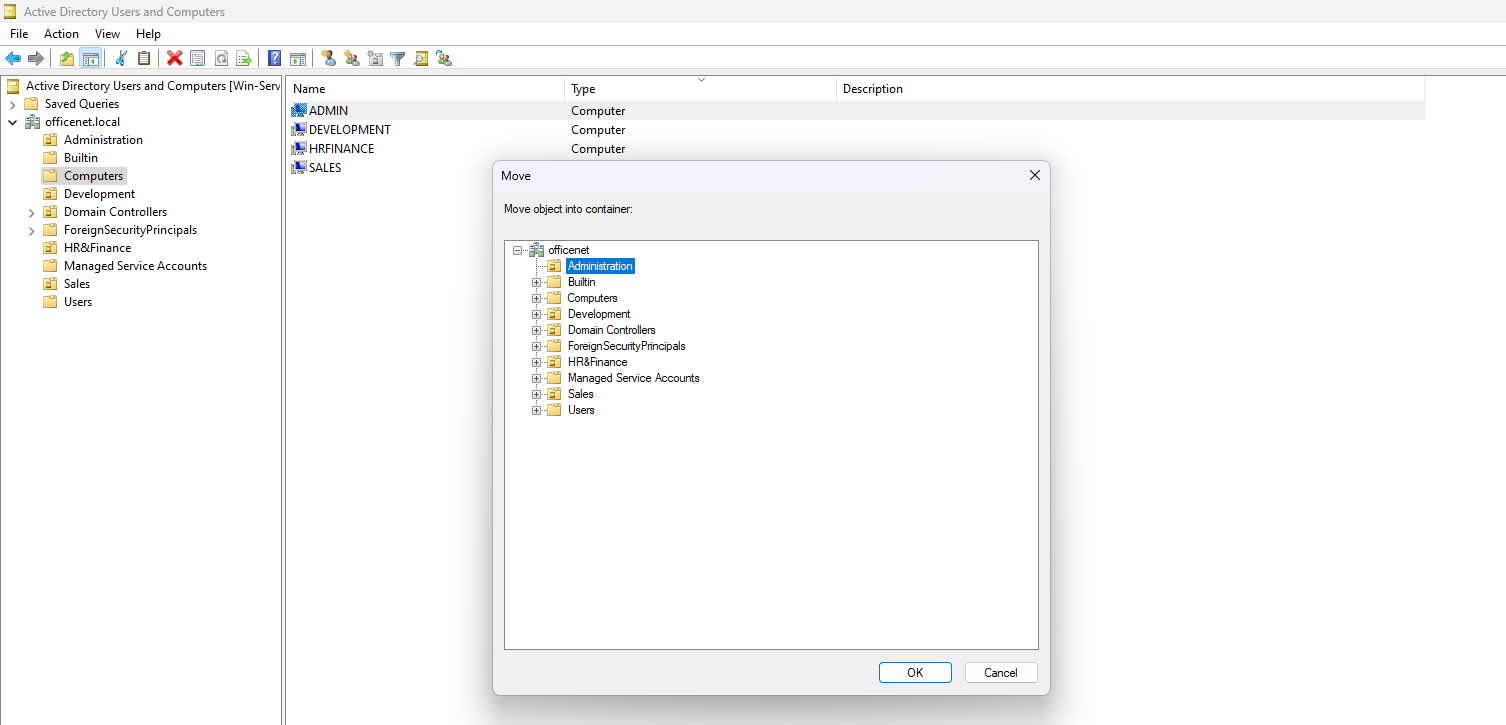
Now, I’ll select the Administration OU and click OK:
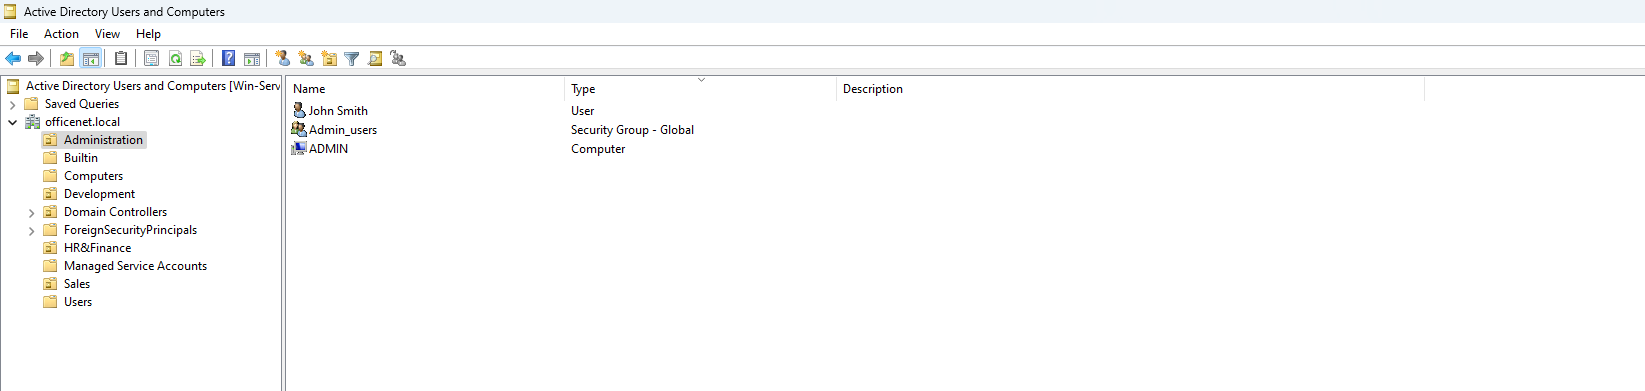
The computer has been moved to the Administration OU:
Now I’ll repeat that for the other three OUs. Once done, the OUs, users and groups will be ready to go.


