

Now that I have both the pfSense Virtual Machine (VM) and the Administrator Client (Xubuntu) set up, I can log into the pfSense WebGUI (Web Configurator) and begin the initial setup. To view the webGUI for pfSense just open the web browser on Xubuntu and navigate to the IP of the pfSense VM at 192.168.1.1:
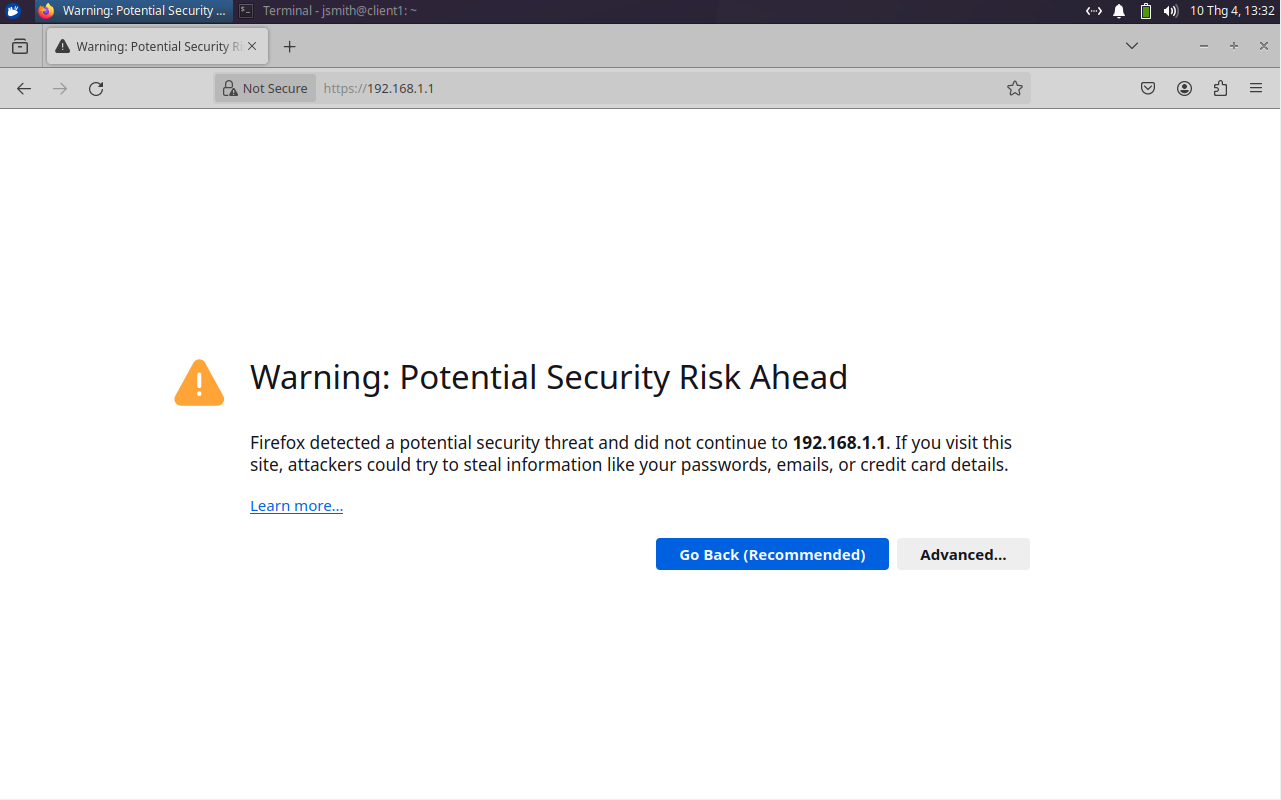
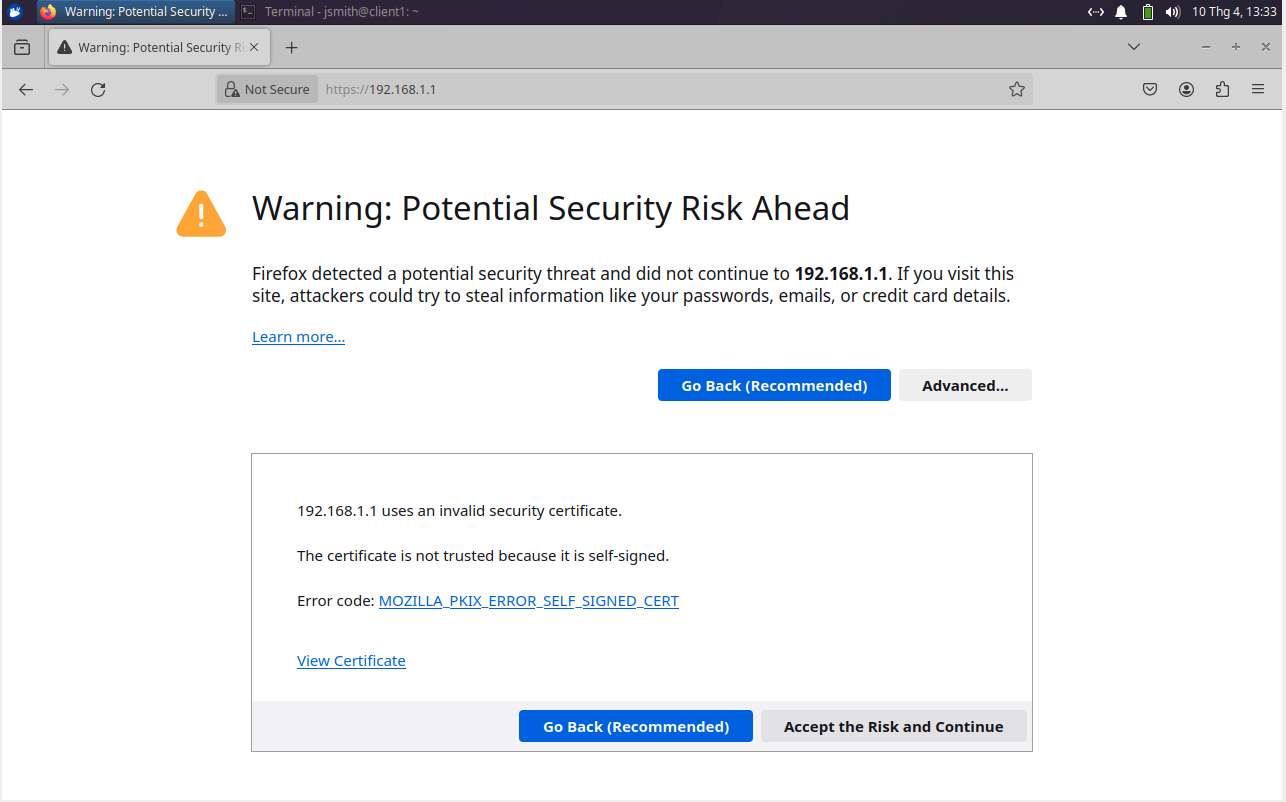
It will present a warning as above. This warning is displayed because Firefox does not recognize, or can’t find, the certificate for this website. For now, just click Advanced and then ‘Accept the Risk and continue’:
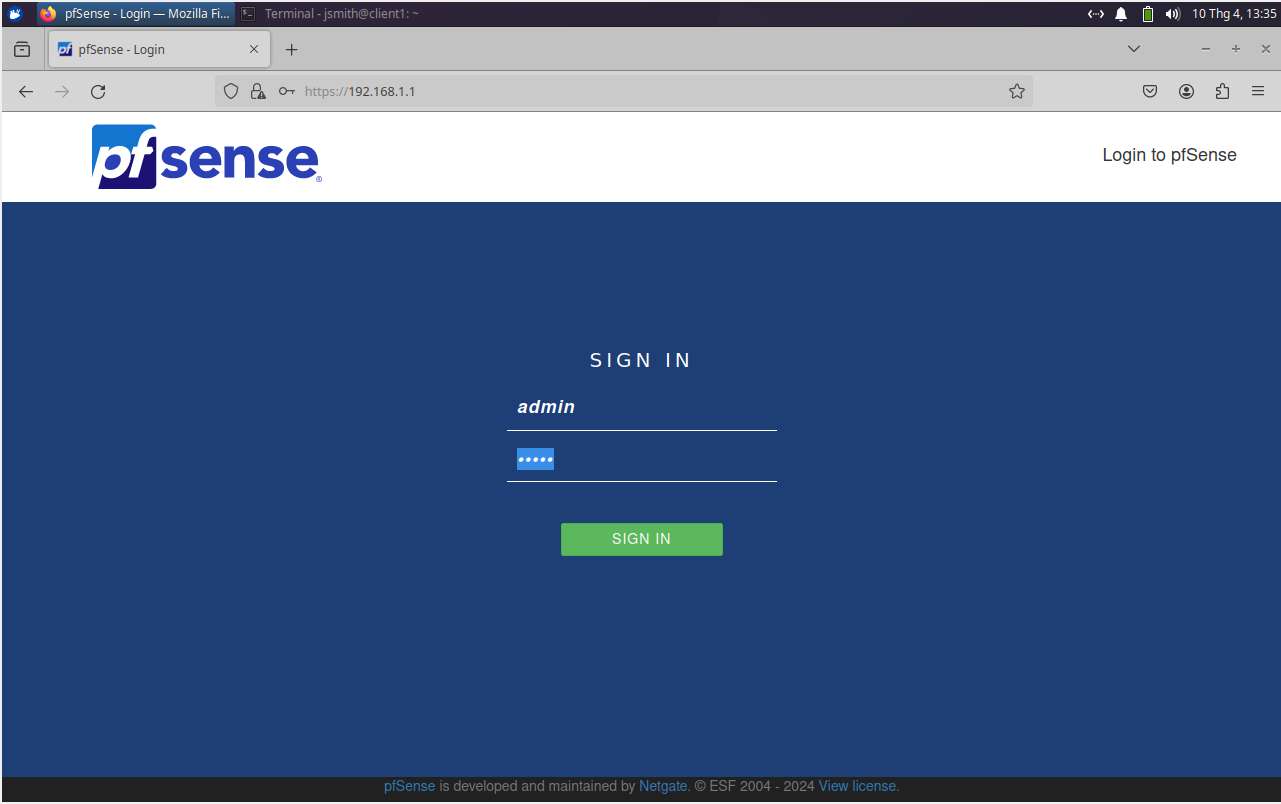
You will be presented with a login screen. The default credentials for pfSense are admin/password. Enter these and continue:
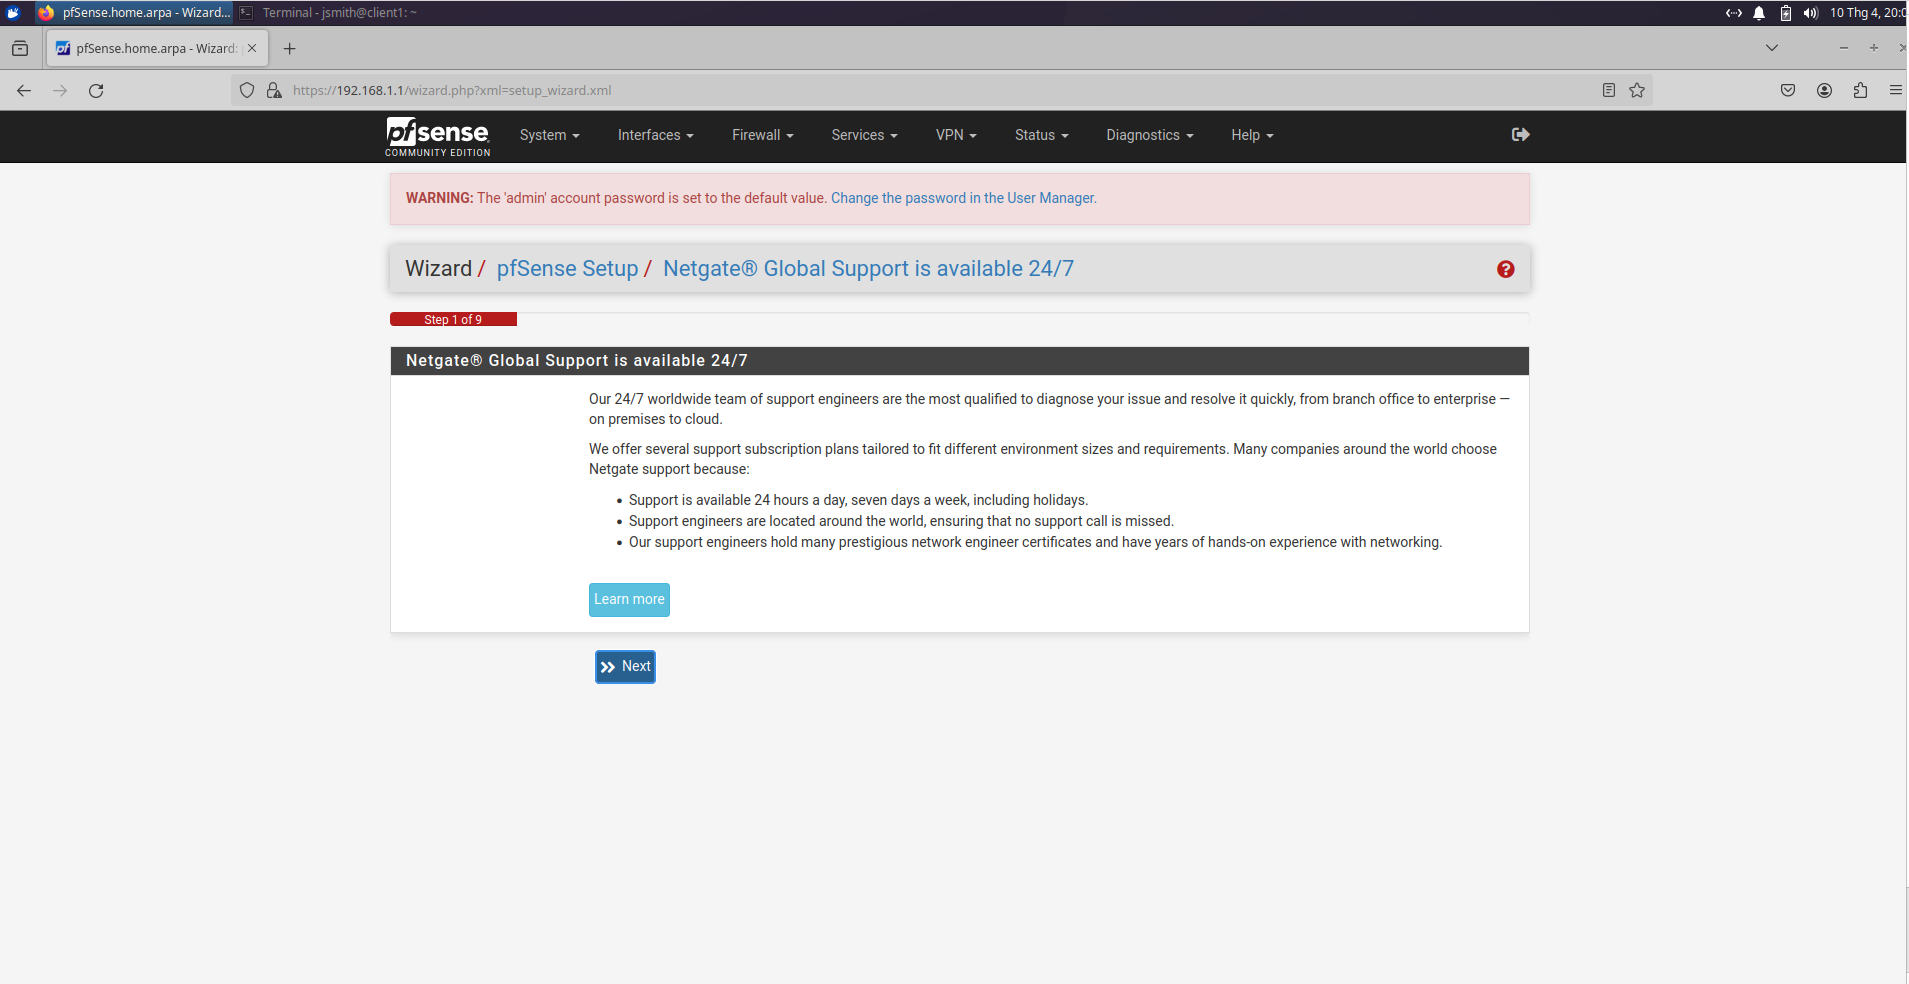
pfSense has an installation wizard that will help you quickly set it up:
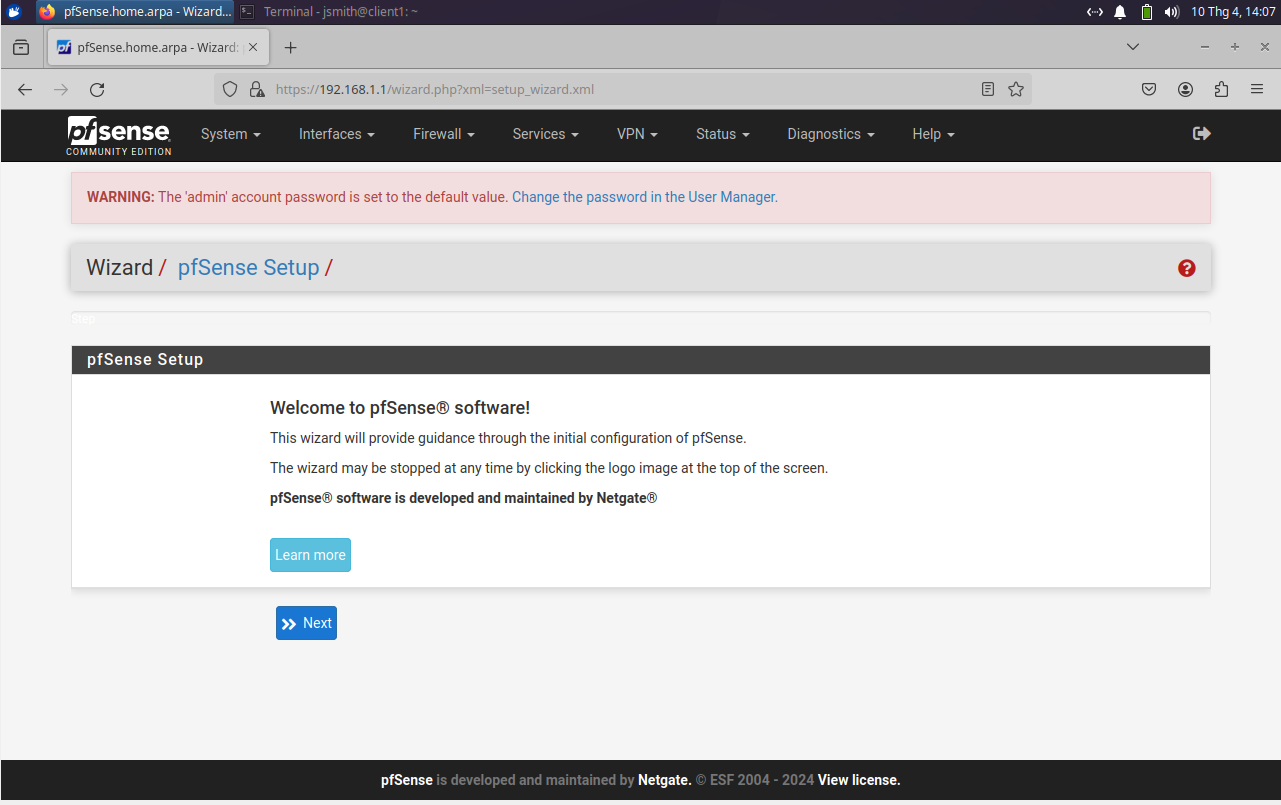
Click on Next to begin:
Click Next again:

Choose your hostname for the firewall. I chose pfSense because it is easy to remember. The hostname can be used to access the firewall without using the IP. Then input the domain name you want to use. In my case, not pictured above, I chose officenet.lan. This means that this machine will be accessible at pfsense.officenet.lan. For the DNS server I chose to use Googles DNS servers for now. I plan on adding a DNS server to this network at a later stage, but this will do for now.
Next, set up the timeserver and timezone:
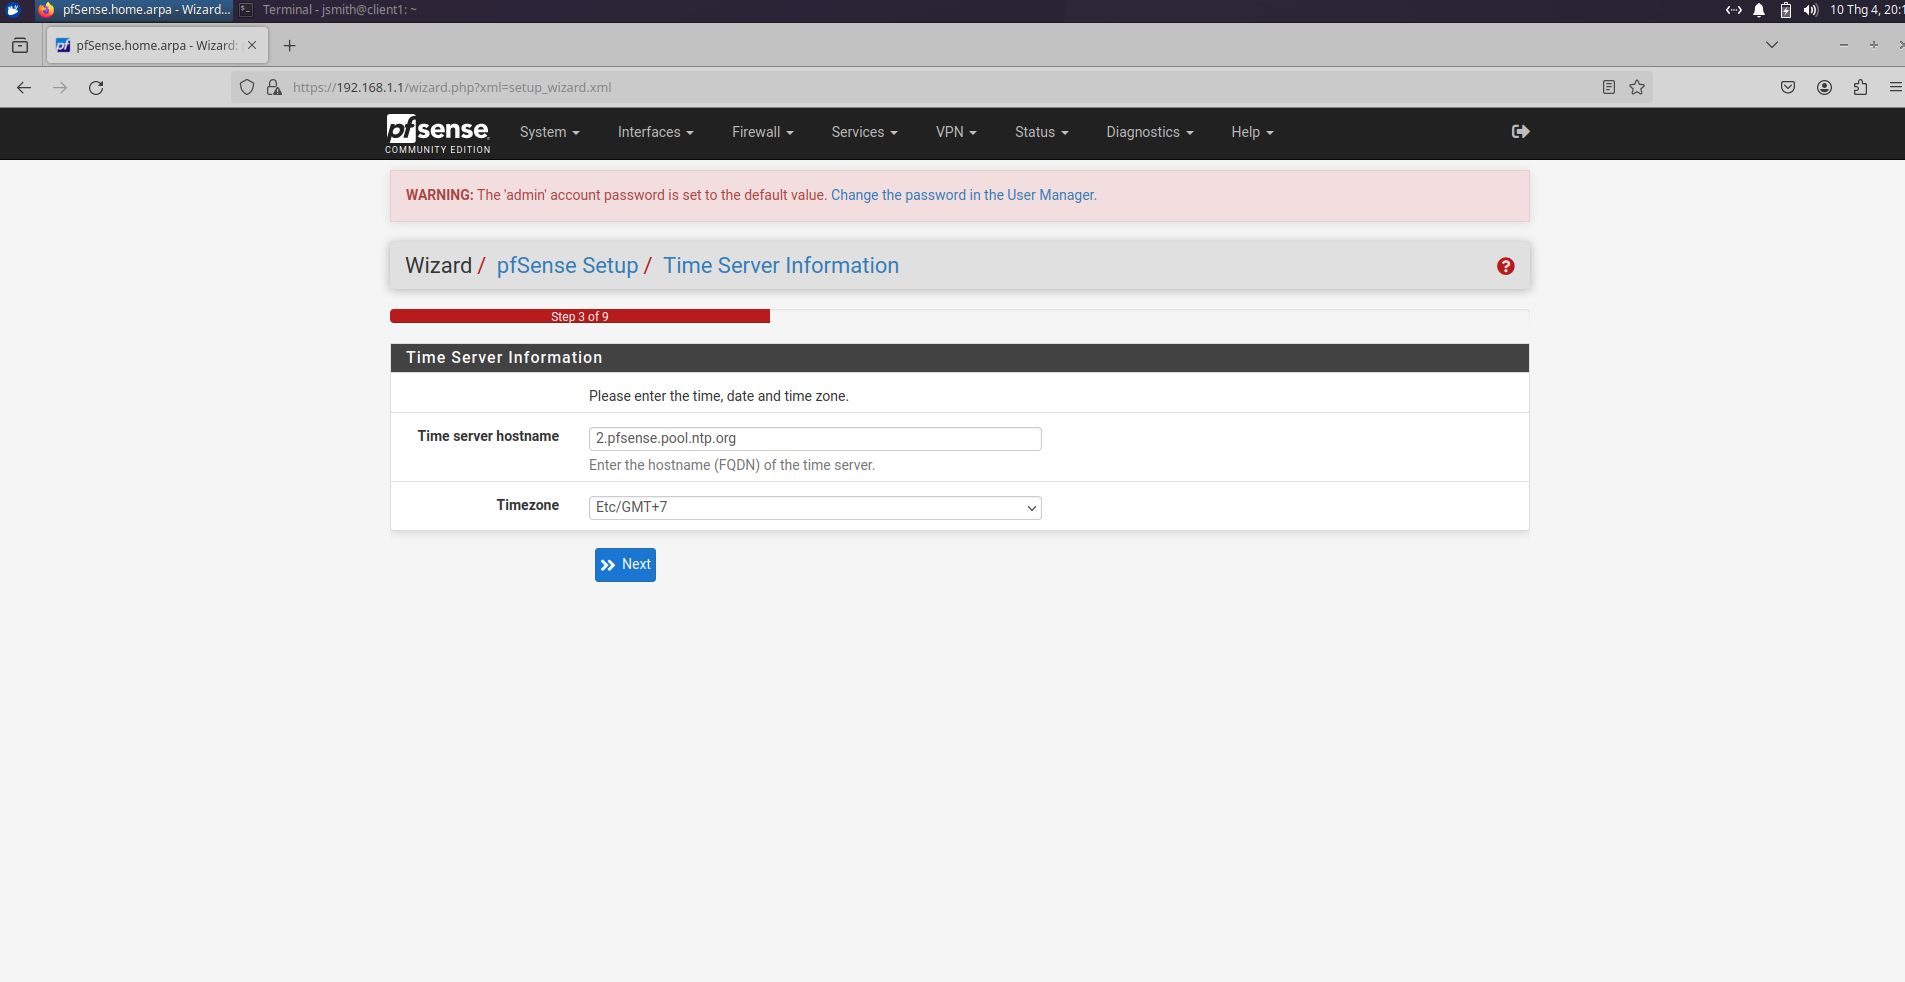
The timeserver can be left at default. This is the server that the Network Time Protocol will get the time from, so it can sync all the machines on the network. Change your timezone accordingly. I live in Vietnam as of the time of writing, so mine is set to GMT+7.
Next, configure the WAN Interface:

Under ‘Configure WAN Interface’, make sure to select DHCP. This is all you need for a small network. Leave everything else blank for now.
Next, configure the LAN interface:
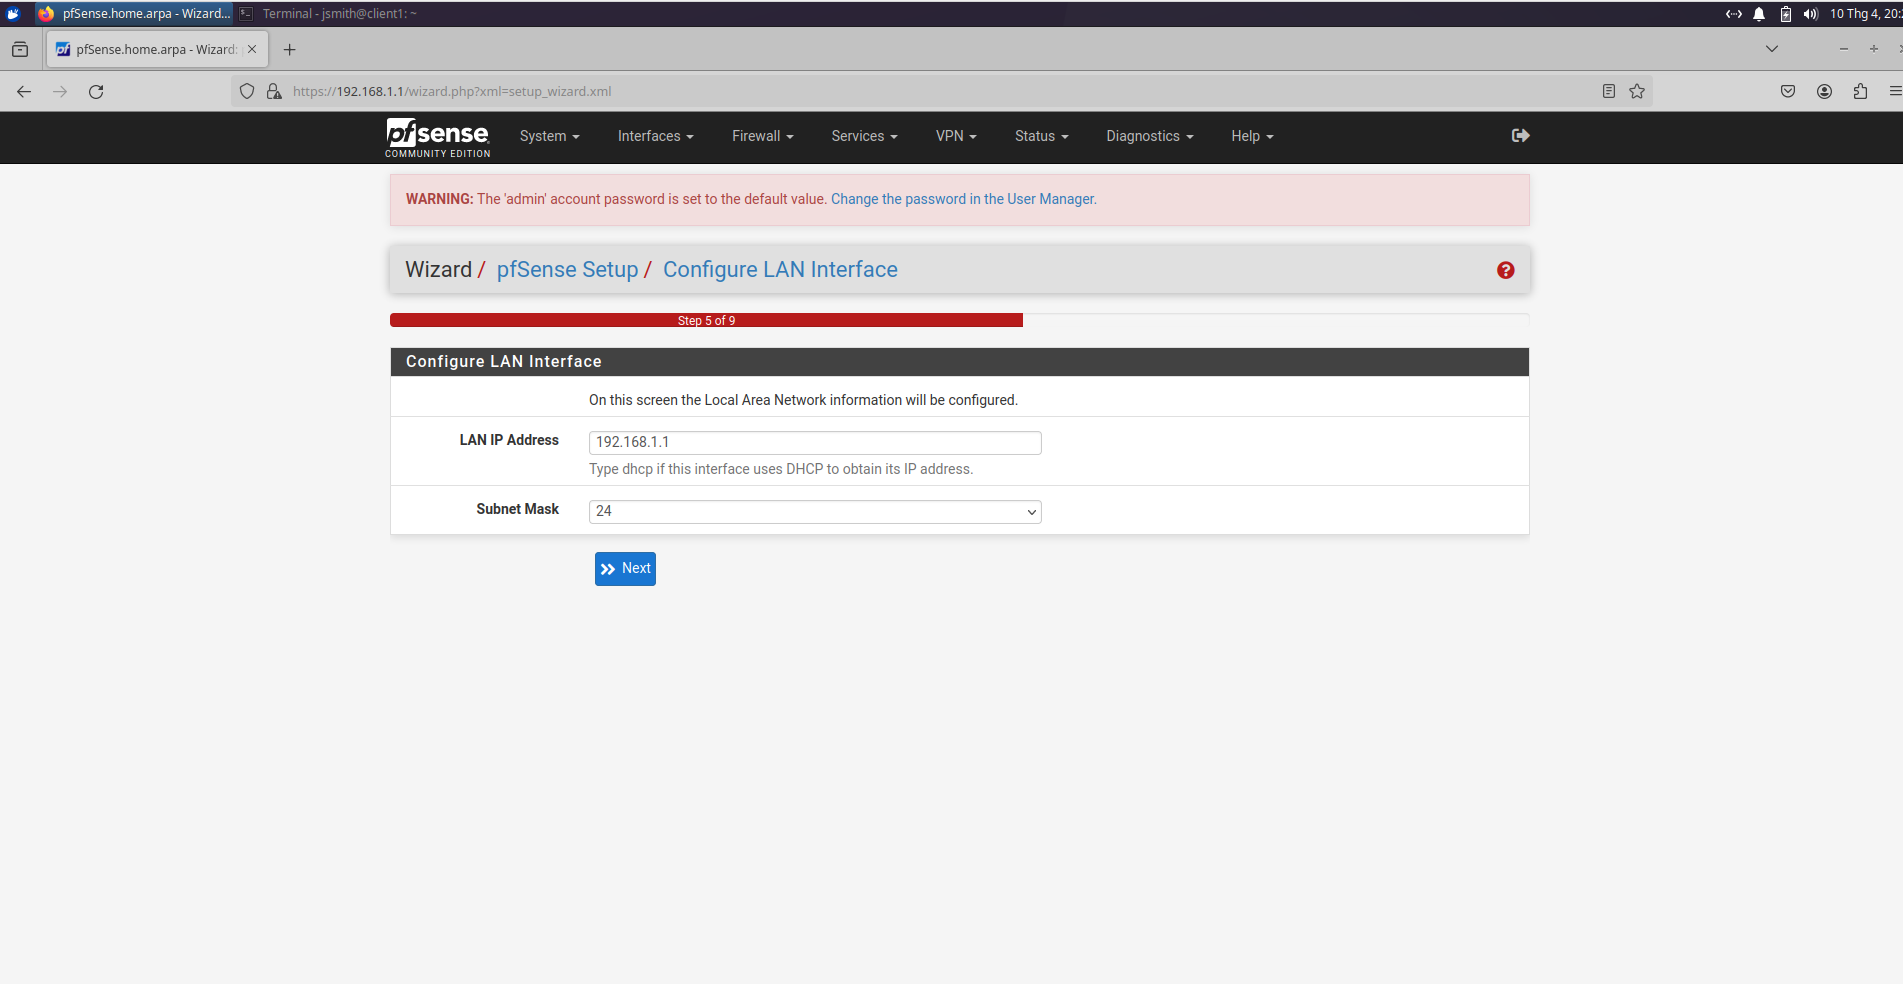
I left the LAN IP address and Subnet as the defaults, but you can change as needed for your network design. Next, setup the WebGUI Admin password:
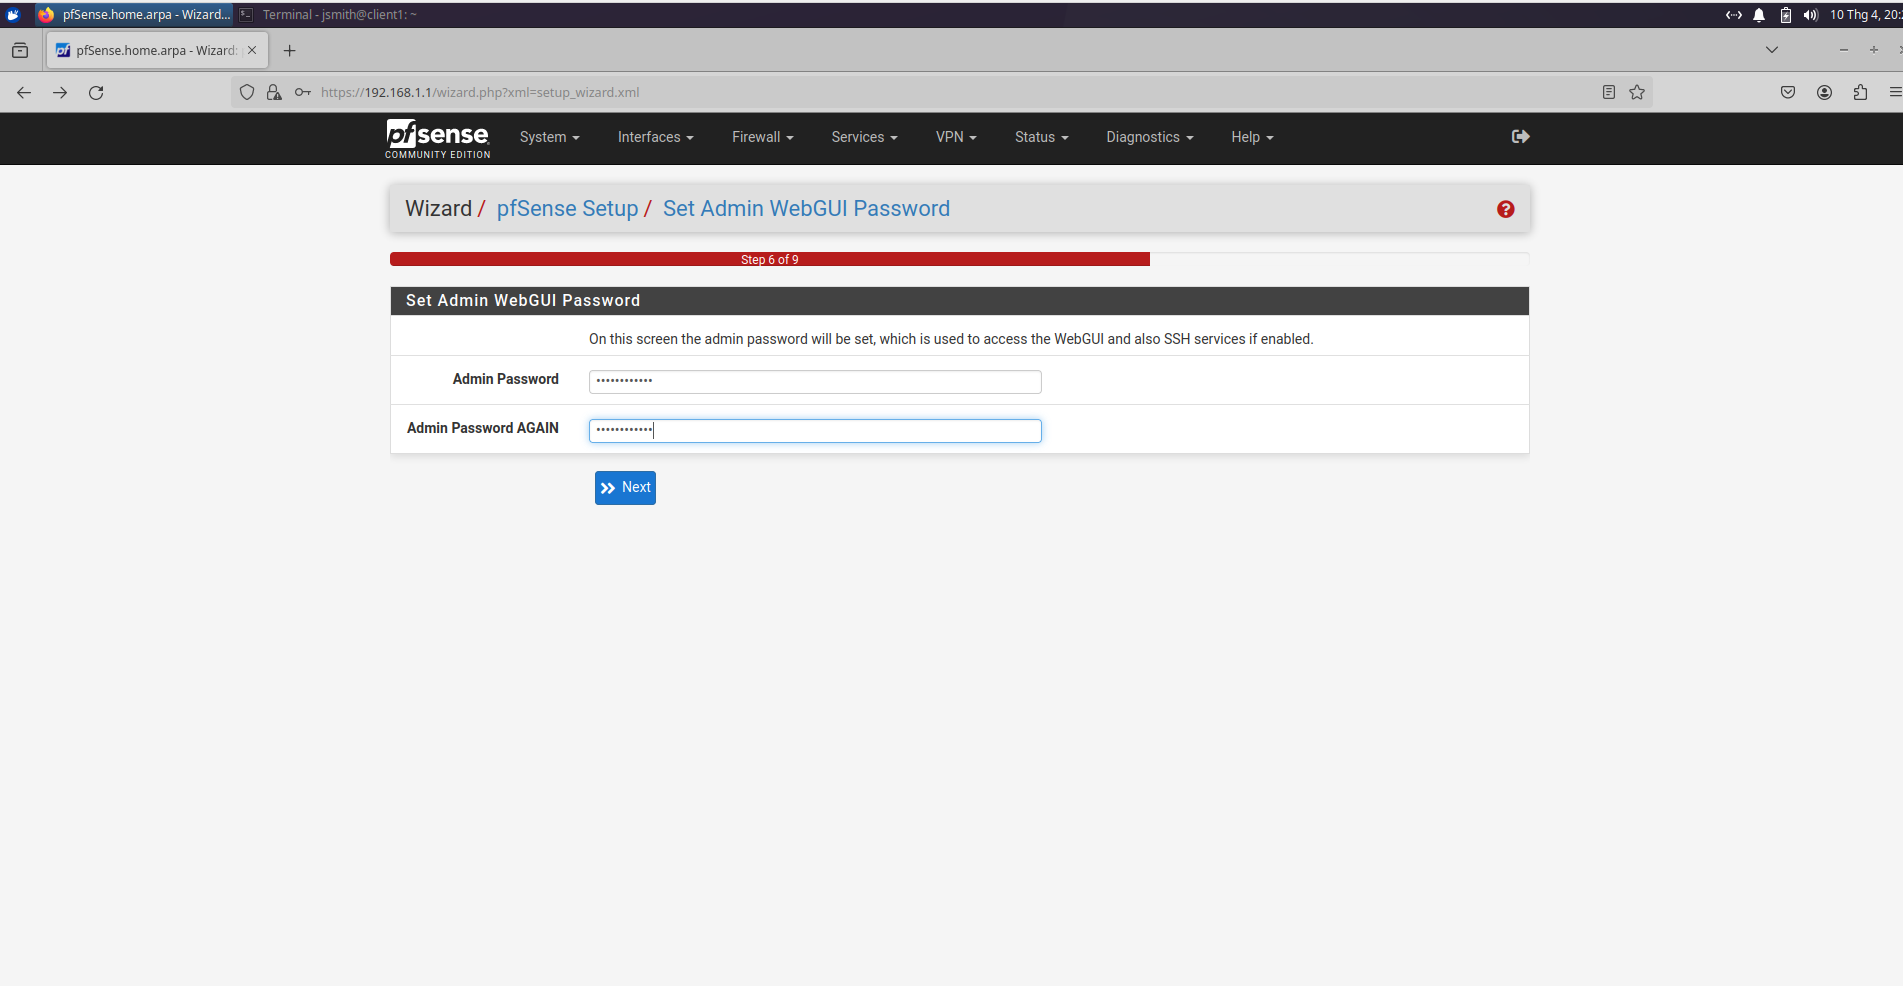
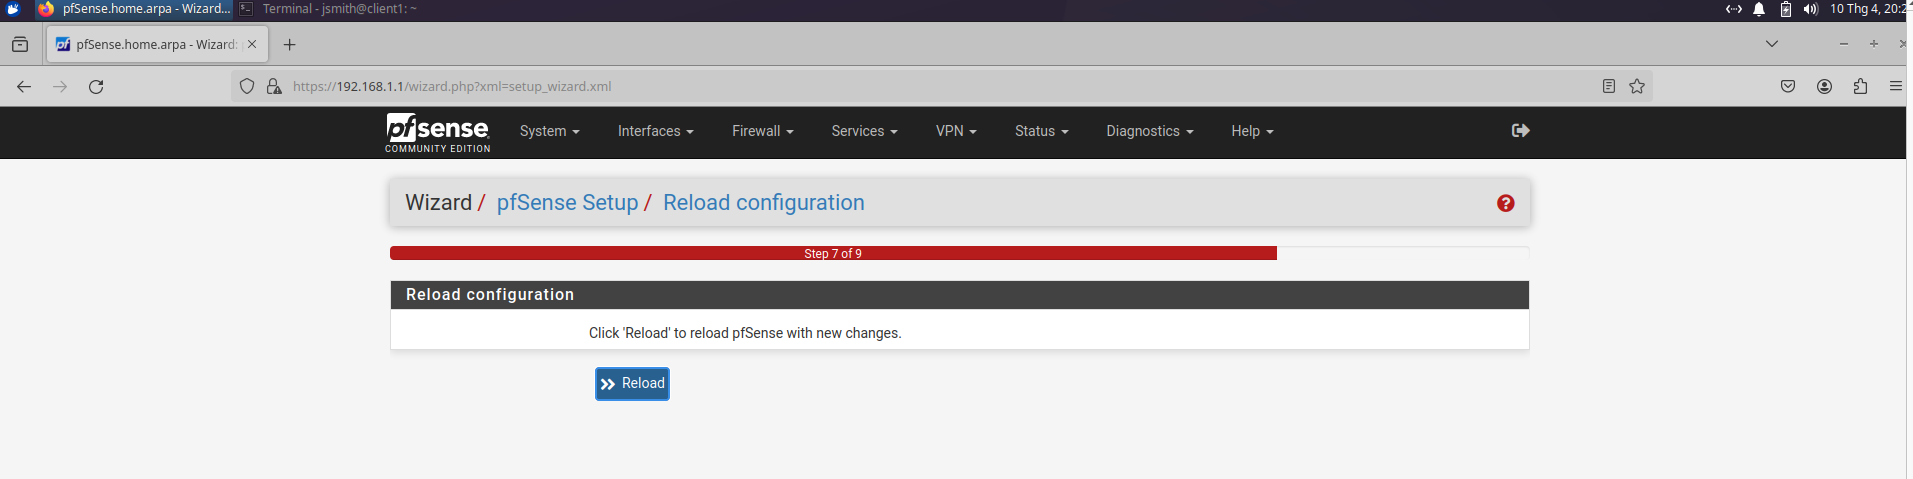
Leaving the password to a firewall on default is a terrible idea. It is generally good practice to change all defaults on all network devices. Choose a strong password for the firewall. The password will be used to access the firewall via SSH (Secure Shell) later as well. Once you click next, the setup will be complete and it will ask you to reload/reboot:
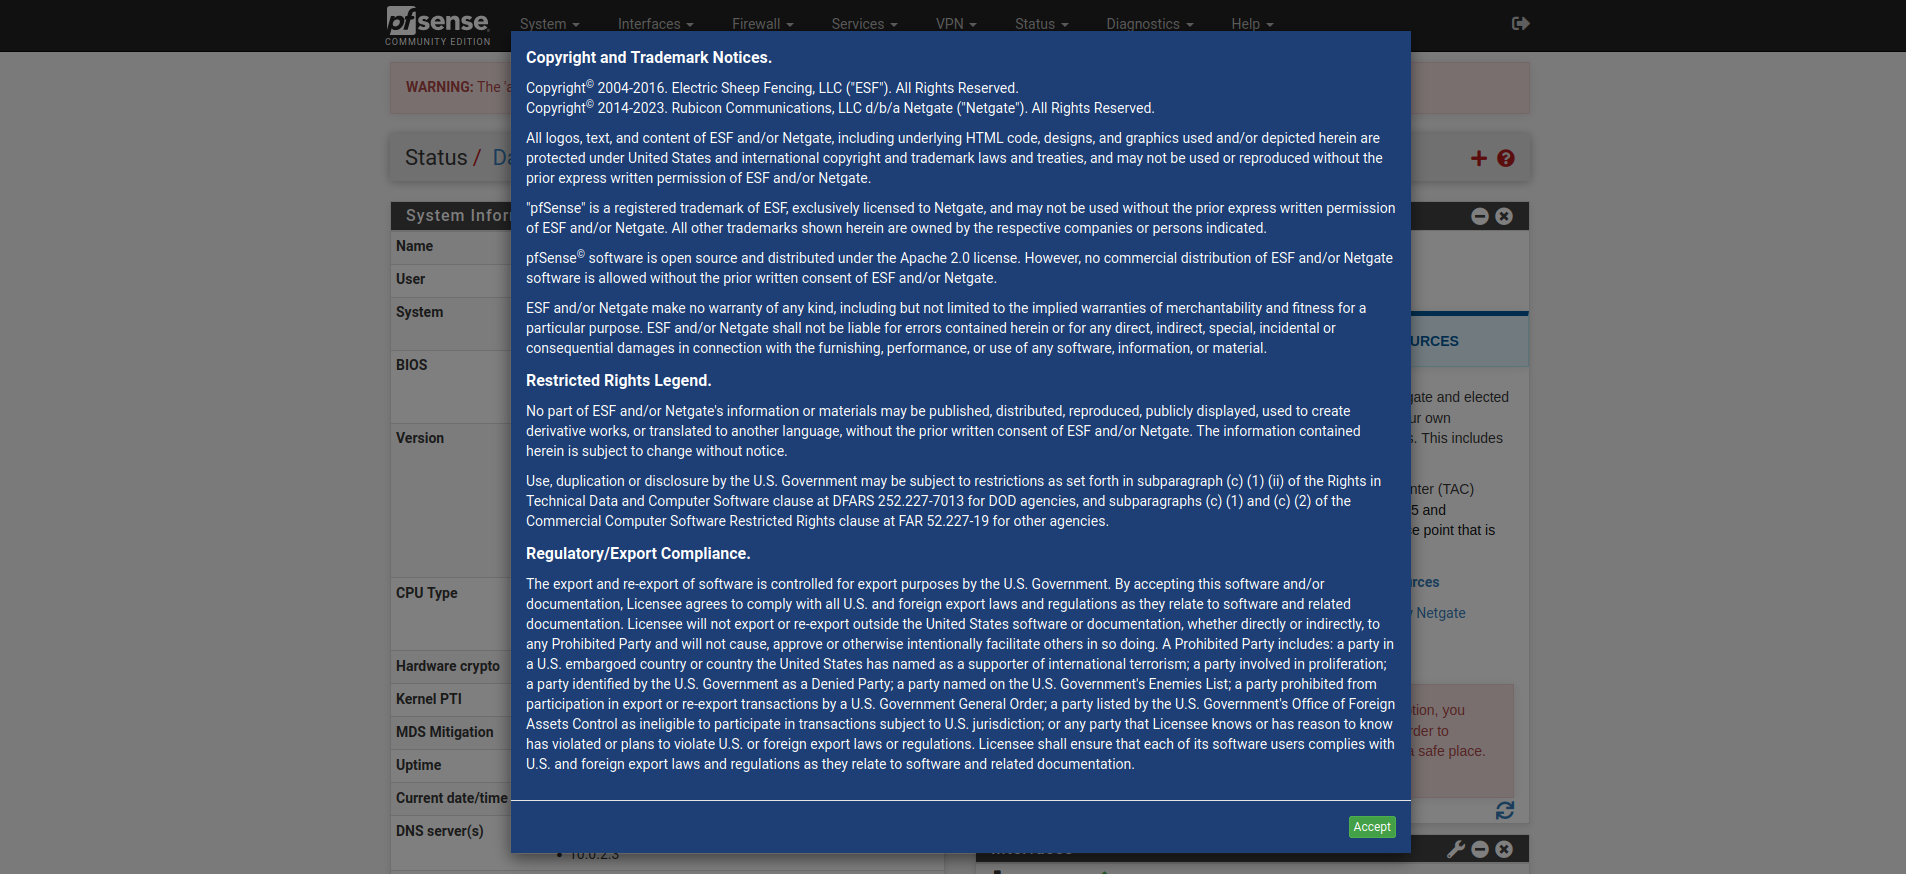
Once rebooted, it will ask you to accept some terms:
The pfsense is now configured and ready to go:
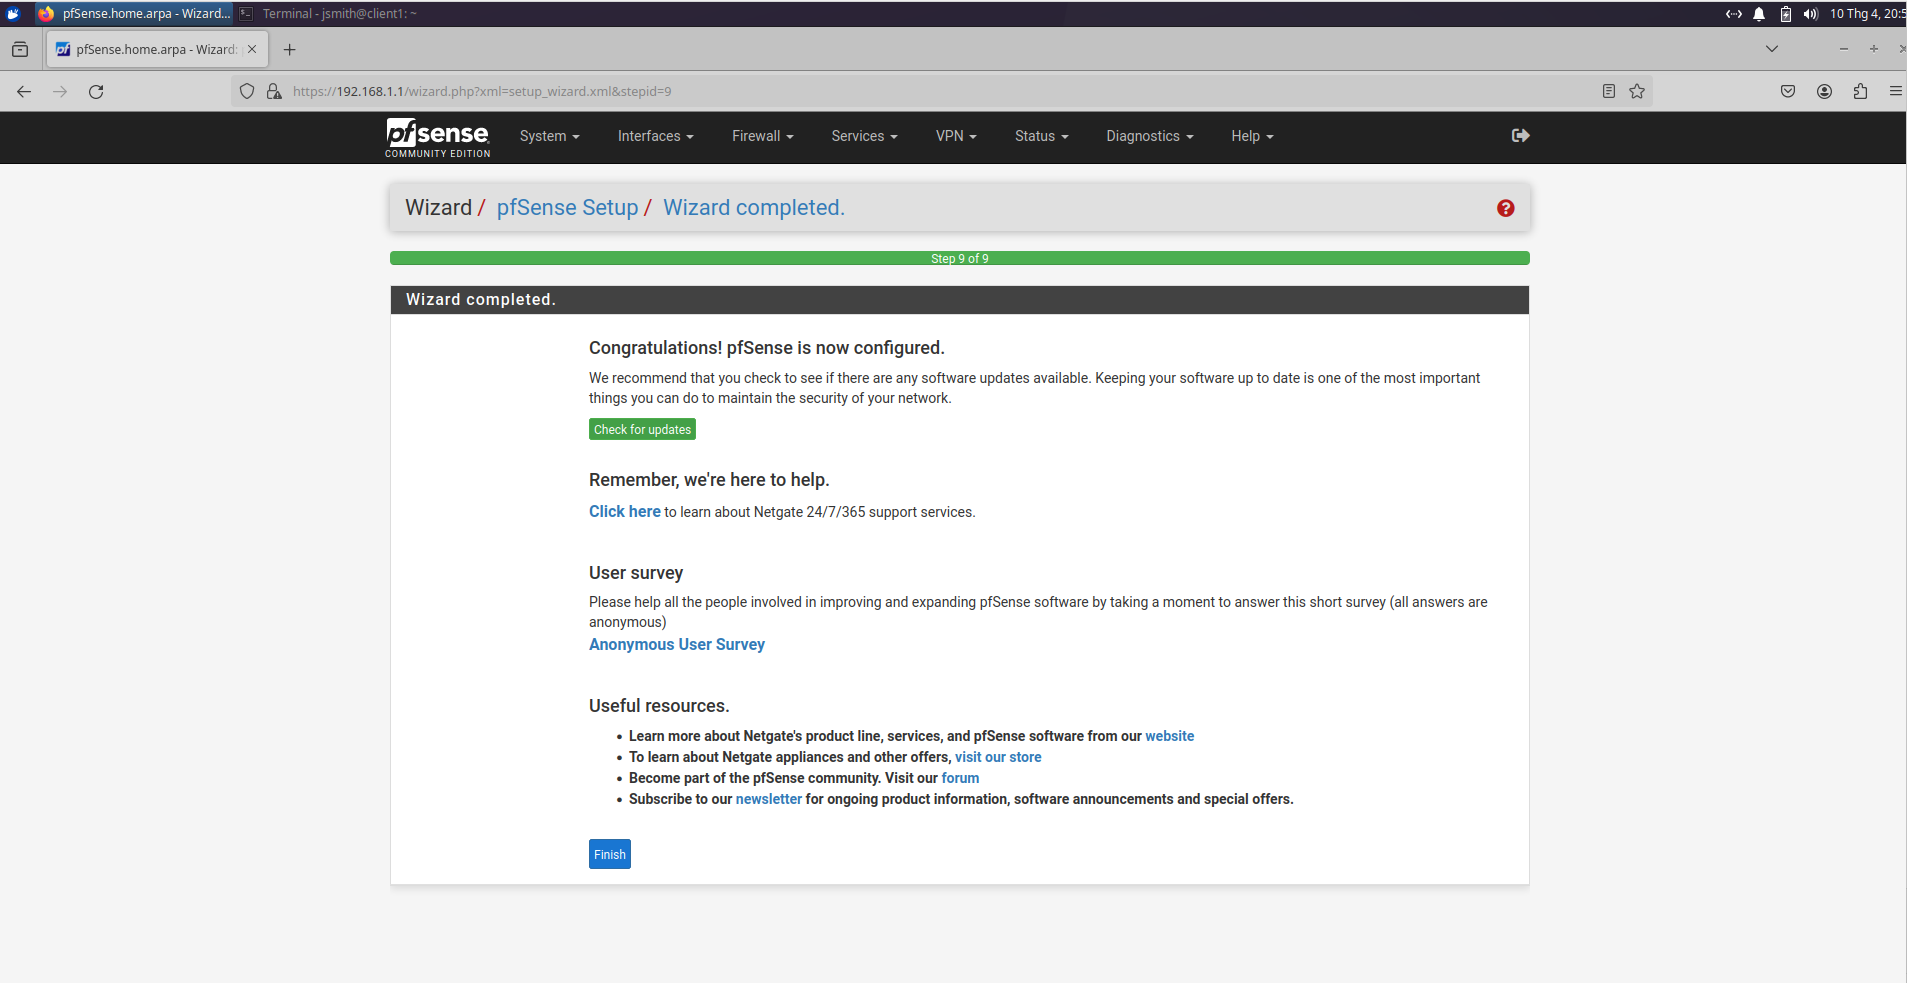
Although the firewall is setup, there are still some simple steps to take to make sure that it is more secure than its default configuration. This will be covered in the next section.


