

The next step in this project, after installing a pfSense router/firewall, is to add a client to the internal network. The first machine I’ll be adding to the internal network is that of the Network Administrator. For this machine I’ve chosen to use Xubuntu Linux. The reason I’ve chosen this particular distribution is because it is compact and lightweight. This project is going to require a number of Virtual Machines (VM’s) running simultaneously on my host machine, so I have limited resources (such as RAM and CPUs) to use. In the real world, depending on the network hardware, an administrator may use either Linux or Windows. A Windows VM, however, is extremely resource hungry, and therefore not a good idea for this machine (although I will be installing one later on).
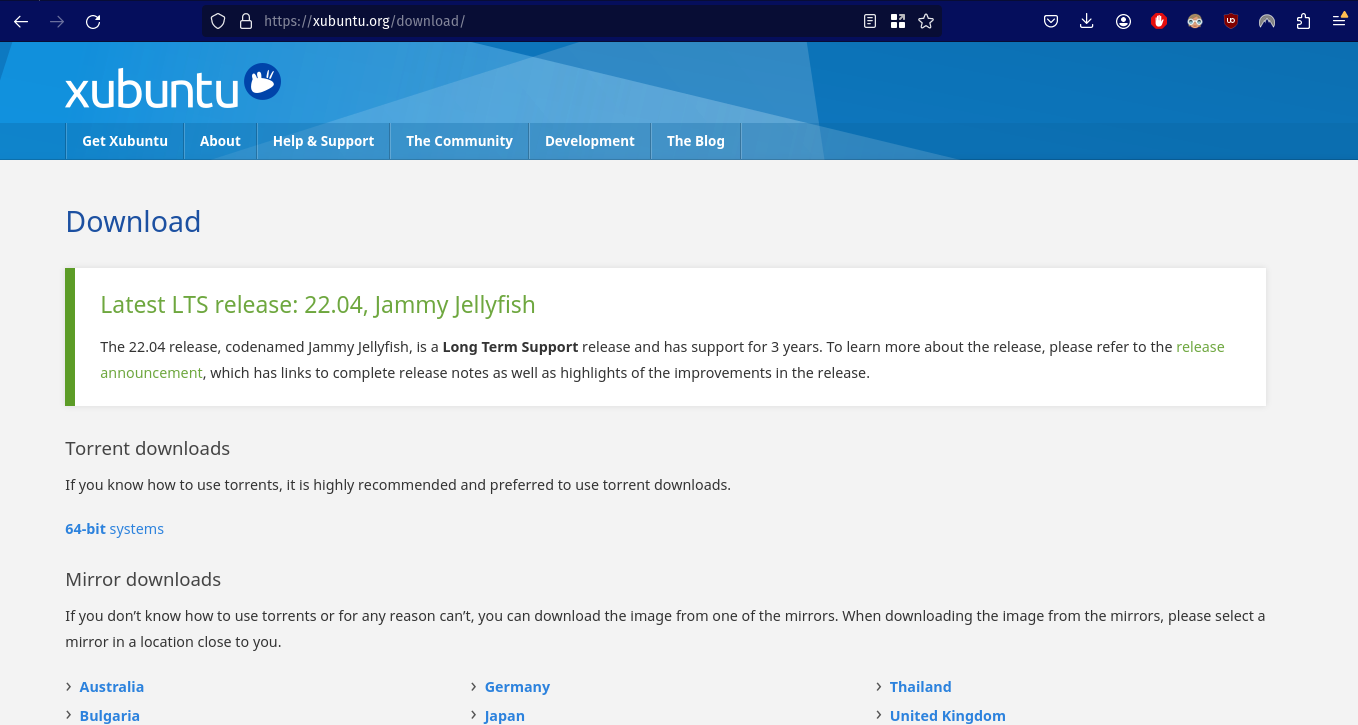
Xubuntu’s minimum requirements are 1GB RAM, a single CPU, and 8.6GB of hard drive space. To get started, download Xubuntu here (I chose to use the torrent option, but any option will do):
Once it’s downloaded, installation can begin. In VirtualBox, click on Machine > New. Select the image that has just been downloaded and give it a name. In my case I chose Client 1:

I chose ‘Skip Unattended Installation’ (not pictured above) because I want to install this myself with a bit more control. As mentioned earlier, I’m going to give this machine 1GB of RAM and a single CPU:
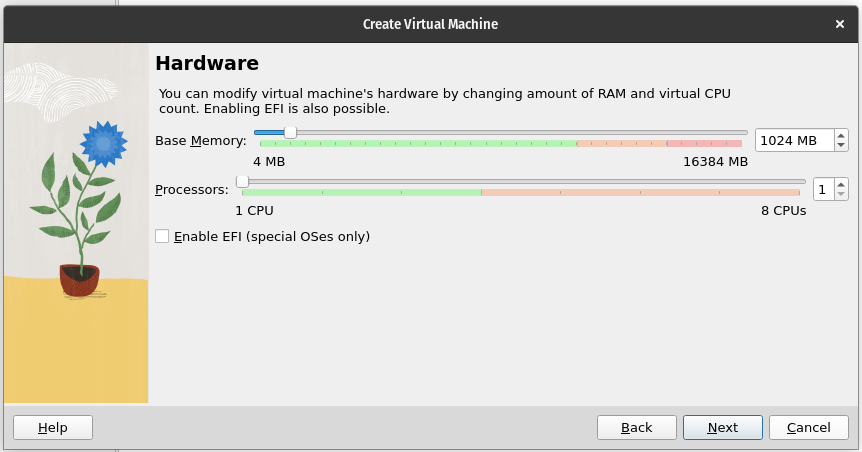
Although it only required 8.6BG, I’m going to give it a little extra so I have room to install anything I may need:

Click next and then finish. Before starting this machine, I need to take away its ability to connect directly to the internet and give it the ability to connect to the pfSense Firewall I setup earlier. I’m doing this because I want this network to work exactly as a normal office network. That means that all machines must connect to the internet through the router/firewall. To achieve this, click on the VM and select settings. Select the Network option and ‘Adapter 1’. Make sure the adapter is enabled and under ‘Attached to’ select Internal Network. This now means that this machine will connect to the internet through the pfSense router:

Now, start the machine to being the installation. Select ‘Try or Install Xubuntu’ and press enter:

Next, select the preferred language and select Install Xubuntu:

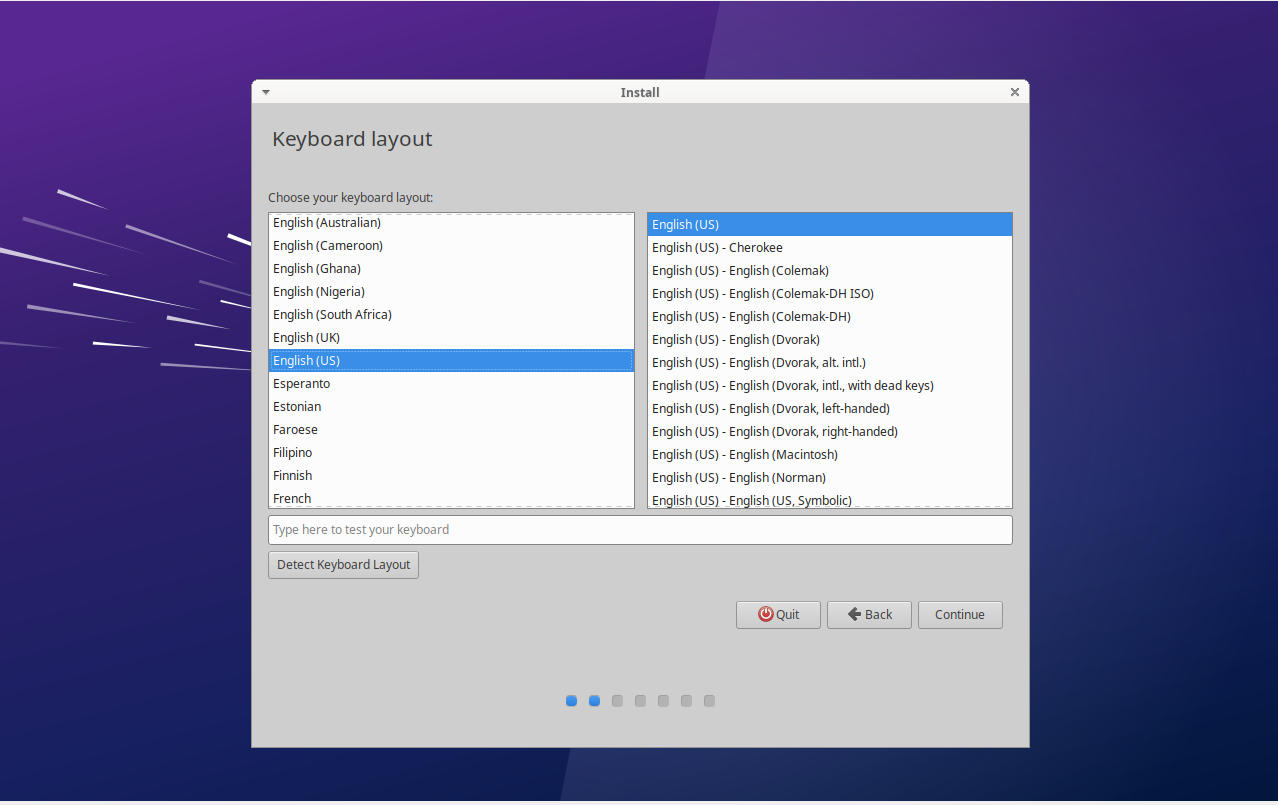
Select your keyboard layout and continue:
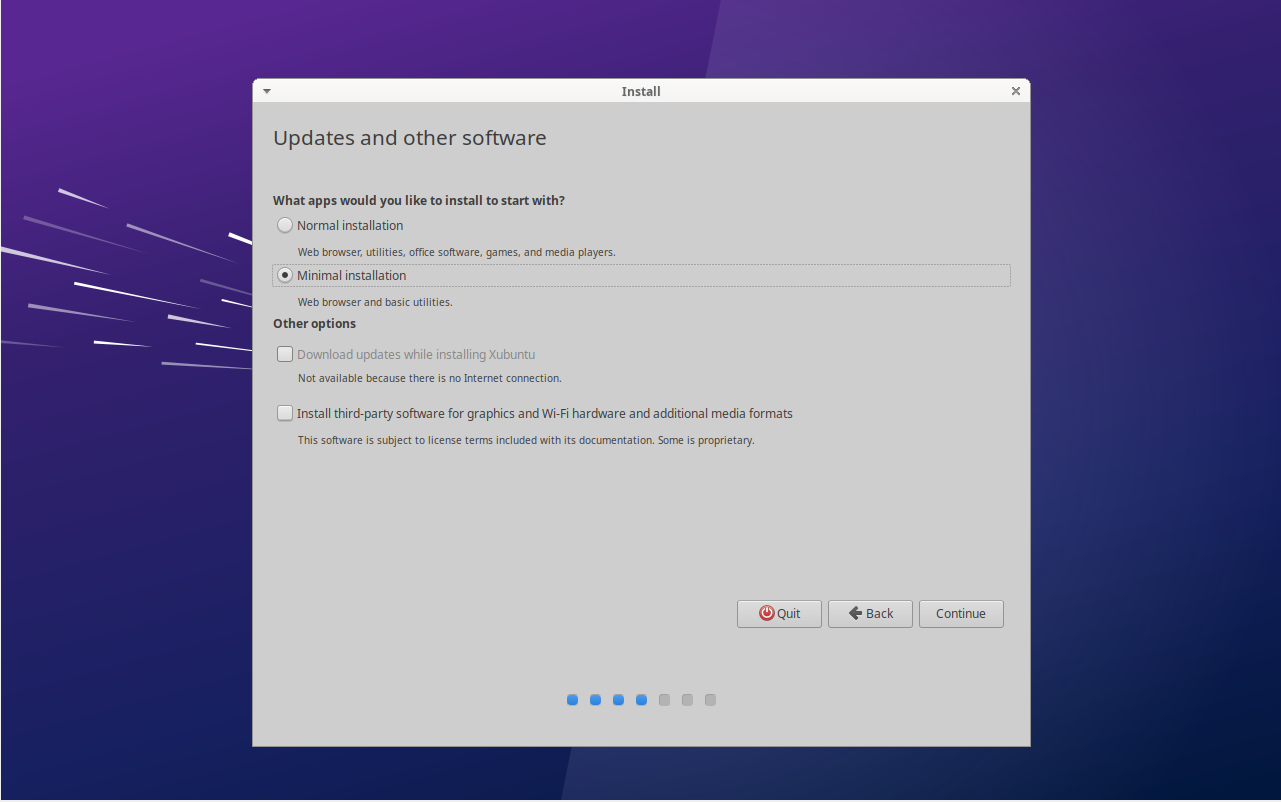
Then, select the type of installation desired. I don’t want to bloat my VM so I’m going to choose Minimal Installation as I can easily add anything I need later:
For installation type, I’ll select Erase disk and install Xubuntu (Remember the disk being referred to here is your Virtual Hard Disk and not your actual physical hard disk so nothing on your machine will be erased). Click Install Now:

Next, select location and continue (I currently live in Vietnam):

Now it’s time to select the username and password. I’ve decided to name my Network Administrator John Smith:

Let the installation complete and then click restart now when it’s done (It can sometimes hang here. To get it going again you can click on the black background and press enter. If that doesn’t work, manually stop the machine by clicking the ‘x’ and then start it again):

Once the machine boots. login using the credentials setup earlier:

If it’s not yet booted (as was the case with mine), boot up the pfSense VM and wait for it to start. In Xubuntu, open the terminal (Click on the blue menu button at the top left and select Terminal, or press Ctrl+alt+T) and type the following:
ip address (or just ip a)
This will show you all network interfaces connected to this machine, along with their IP addresses:

enp0s3 is the network adapter we set up earlier in the installation process, and it has been assigned the IP 192.168.1.100. It has successfully received an IP from the pfSense firewall. Now I’ll double check to see if it can reach the firewall by pinging it on 192.168.1.1:
ping 192.168.1.1

The Xubuntu VM can talk with the firewall. Now, I need to see if it can talk to the internet. So I’ll ping Google.com this time:
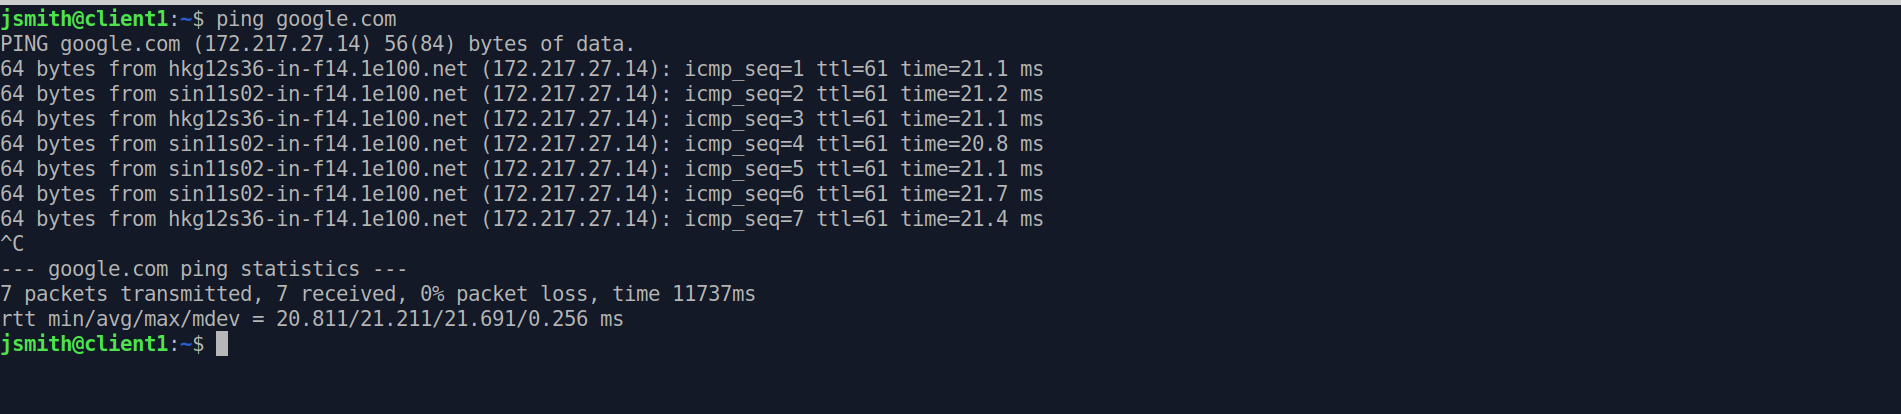
Perfect. It’s working as expected. Now I’ll quickly run a system update:
sudo apt update && sudo apt upgrade -y
This command will update and upgrade this machines software to the latest versions. Once this is finished, the machine is ready to go. Next, I’ll need to log into the WebGUI interface for pfSense and finish setting it up.


