

The first step in building out a SIEM stack is to implement a SIEM system. SIEM stands for Security Information and Event Management, which can be broken into two parts for easier understanding:
Security Information
A SIEM provides a central repository where an organization’s logs can be collected, aggregated, and managed. Logs, such as user activity, network traffic, and system events, can be collected from endpoints, firewalls, servers, containers, and cloud applications. The SIEM centralizes these logs, allowing for effective storage, visualization, and analysis.
Security Events
Once logs are collected, the SIEM analyzes them using predefined and custom rules (created by Analysts or Engineers). It can correlate data from multiple sources to detect suspicious behavior or threats. When potential issues are identified, the SIEM generates security events for further investigation by SOC Analysts. Security events focus on identifying threats, alerting stakeholders, and enabling near real-time response to incidents.
Overall, a SIEM provides Analysts with a single, centralized platform to observe, track, investigate, and analyze traffic and activity across an entire organization. By aggregating and correlating data, the SIEM helps to easily identify trends and detect anomalous behavior. As the backbone of any Security Operations Center (SOC), the SIEM is a critical tool for maintaining visibility, detecting threats, and enabling a proactive security posture.
Why Wazuh?
There are many excellent SIEM options available on the market today. For this project, I have chosen to work with Wazuh because it is a fully-featured, enterprise-level SIEM that is 100% open-source and free. This makes it an excellent option for organizations looking to significantly reduce security costs without sacrificing the functionality offered by commercial alternatives.
Wazuh stands out by combining traditional SIEM capabilities with Extended Detection and Response (XDR) features, providing a unified platform for:
– Threat Detection and response
– File Integrity Monitoring (FIM) to identify unauthorized file changes
– Vulnerability Detection for proactive risk management
– Endpoint Security for enhanced protection
One of Wazuh’s strengths is its flexibility—it allows organizations to customize detection rules to meet their specific needs. Additionally, it integrates seamlessly with the MITRE ATT&CK framework, offering advanced threat detection by mapping security events to known adversary tactics and techniques.
Wazuh also addresses compliance monitoring with built-in features that support key regulations such as PCI DSS, GDPR, HIPAA, and CIS benchmarks. This enables organizations to meet regulatory requirements, improve system hardening, and maintain security best practices.
Installing Wazuh
Installation of Wazuh has been made very simple. I’ll be running Wazuh using the bare-minimum resources because I will only be connecting a handful of agents to it. The recommended requirements are:

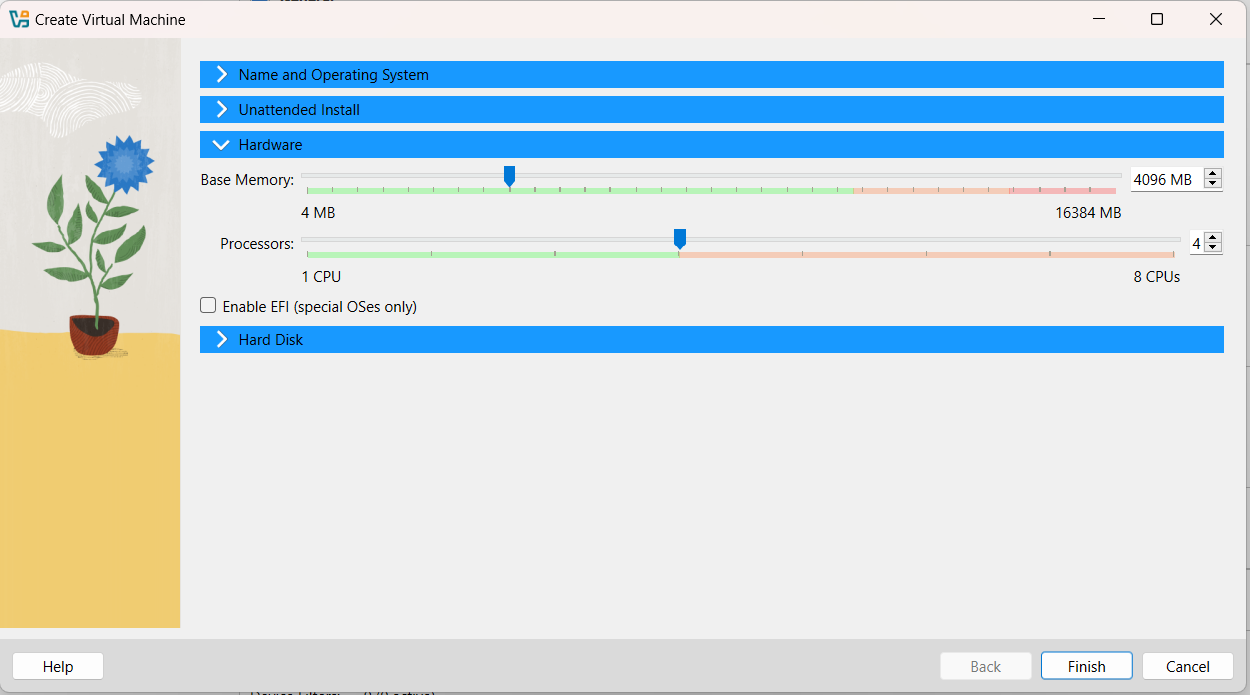
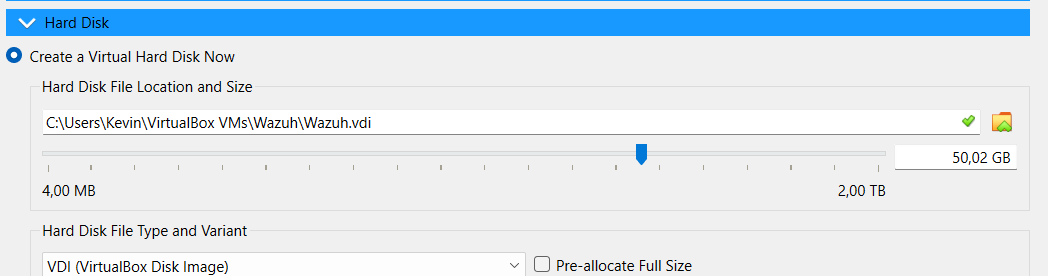
For this demo, I will be using an Ubuntu Server 24.04 Virtual Machine running on VirtualBox. I will be providing it with 4 CPUs, 4GB RAM, and 50GB HDD space. You could possibly get away with fewer CPUs, but do not skimp on the storage space:
Once the machine is running and fully updated, you can download and run the Wazuh installation assistant. This is a single instruction that will download and install Wazuh on a single node. It makes installation quick and easy, but only if you are using a single machine and not a cluster:
curl -sO https://packages.wazuh.com/4.9/wazuh-install.sh && sudo bash ./wazuh-install.sh -a
![]()
Once the installation is done, make sure to look through the output for your dashboard login credentials. If you can’t find them, or forgot to look, then you can get them by running these two commands:
sudo tar -xvf wazuh-install-files.tar
sudo cat wazuh-install-files/wazuh-passwords.txt
Now you can access Wazuh from your host machine (Make sure you’re using a bridged adapter and not a NAT adapter in Virtualbox). You will receive a warning like this:
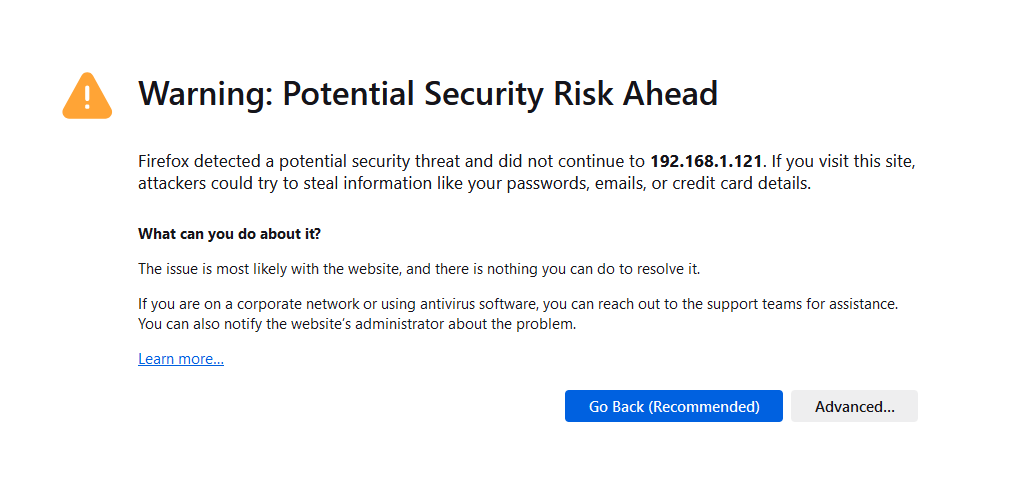 Click Advanced, and then Accept the Risk and Continue:
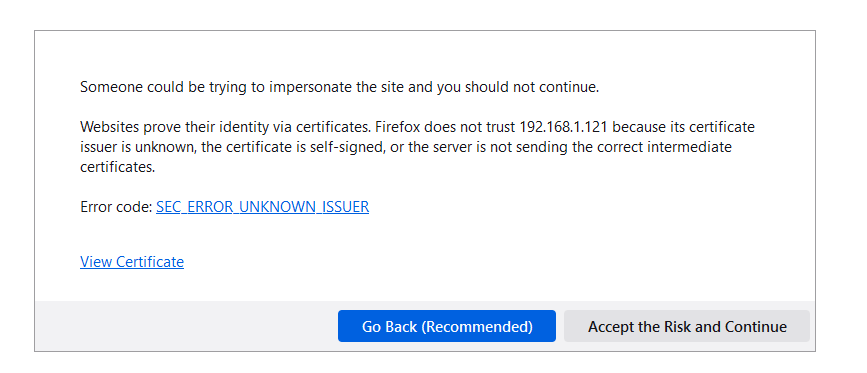
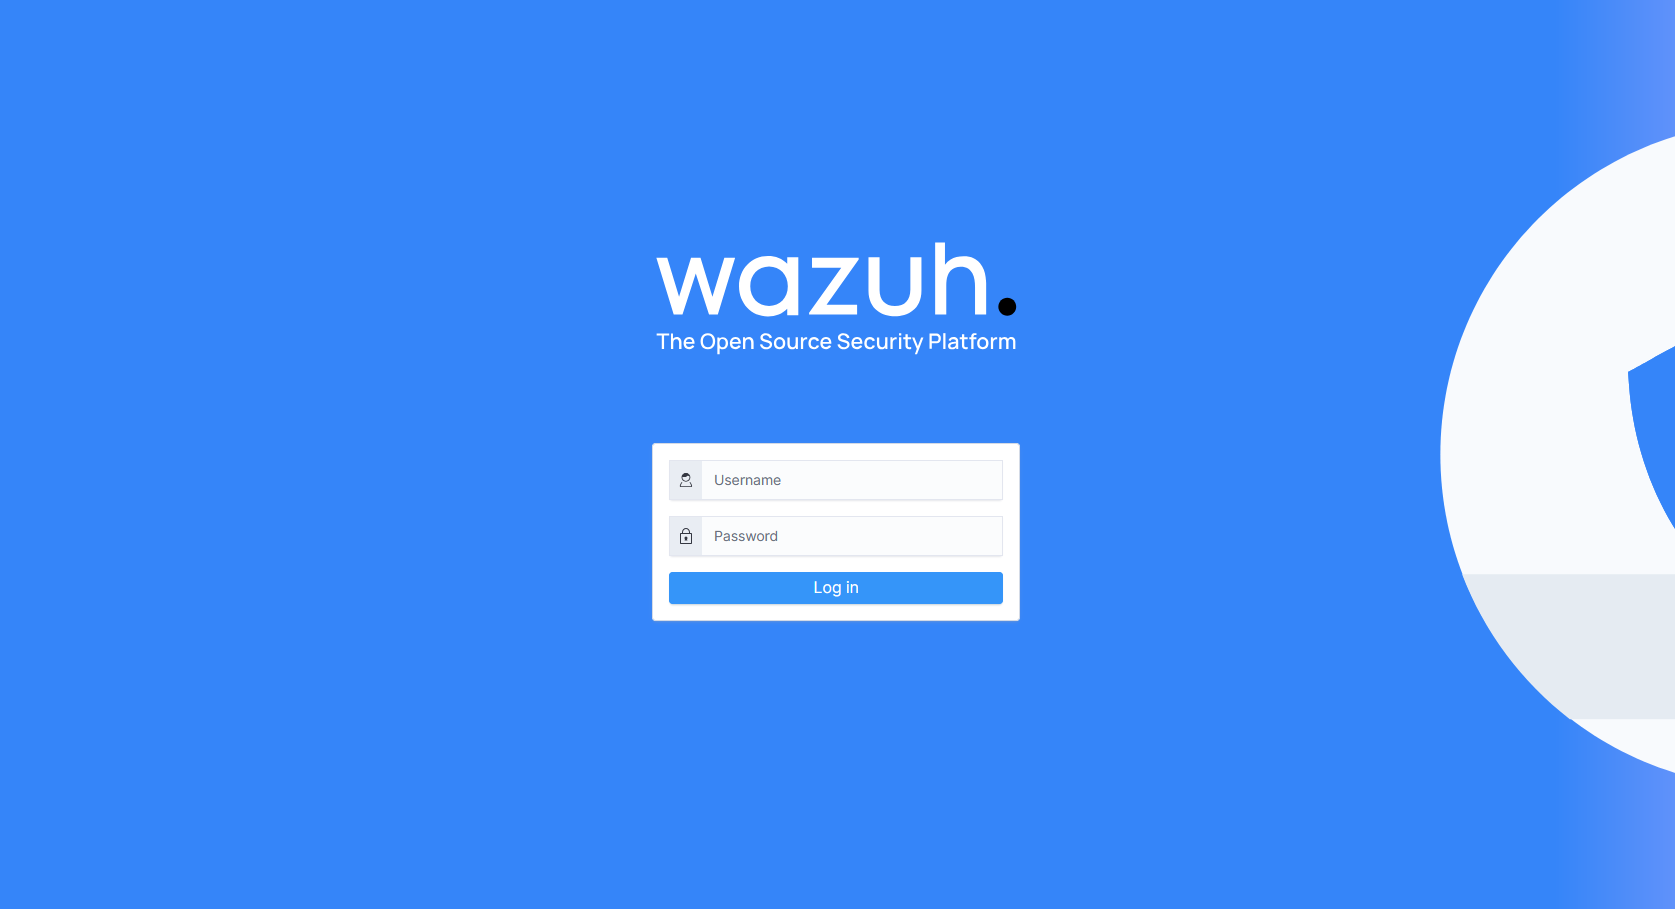
You will then be taken to the login screen:
Enter your credentials and once logged in you will be shown a dashboard that looks like this:
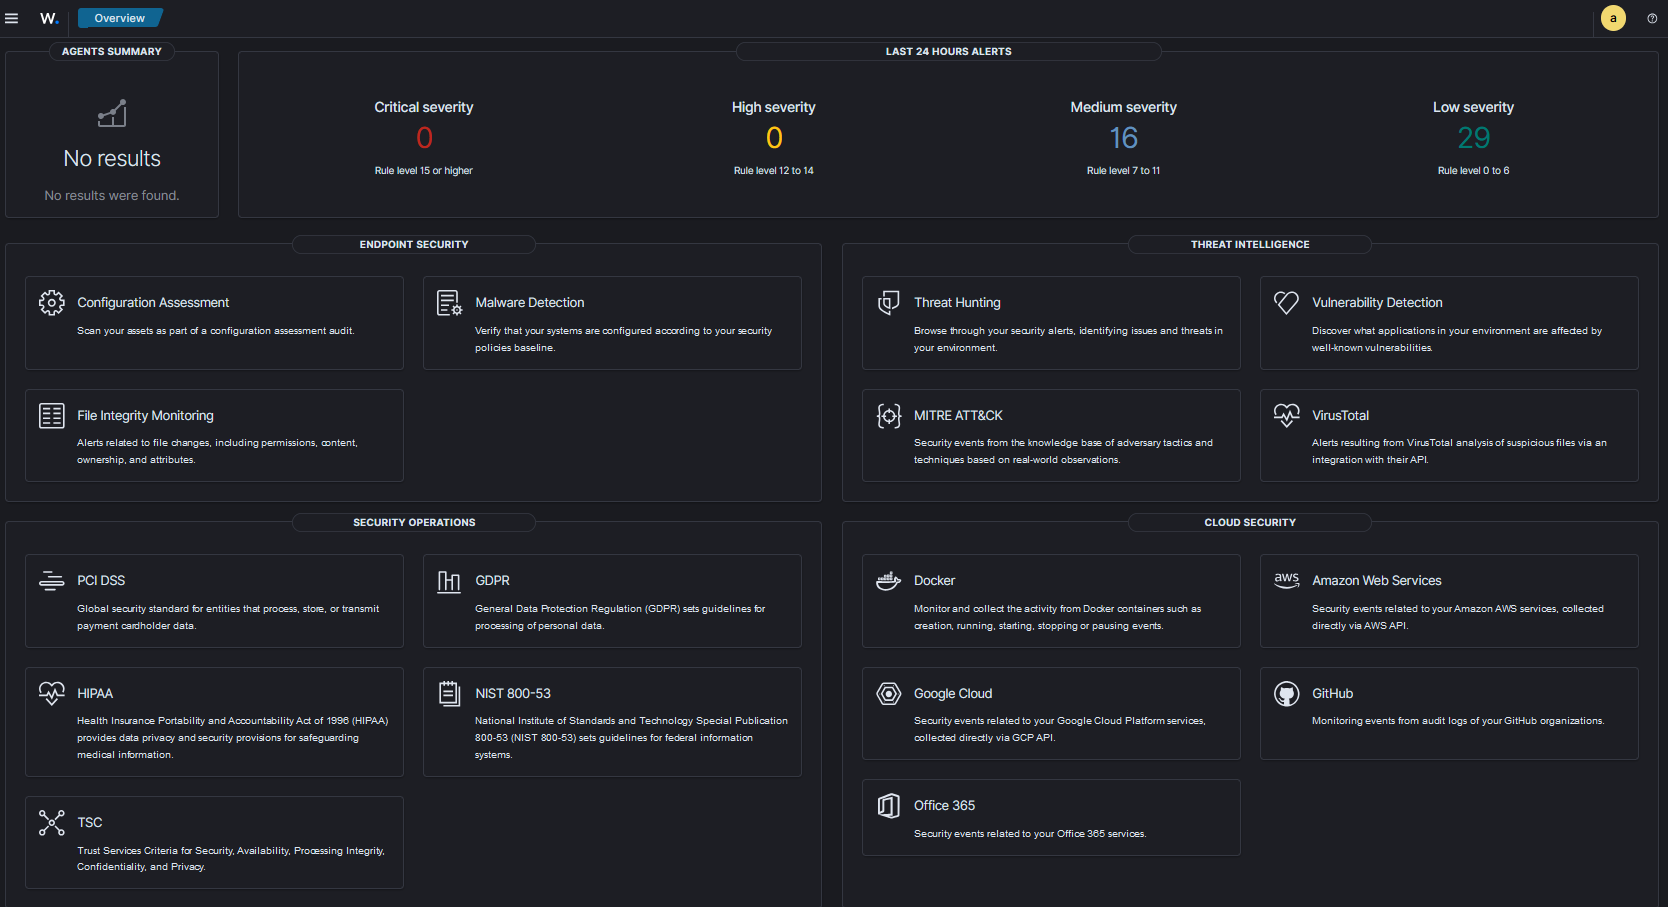
Done! You now have a world-class SIEM up and running!


